











If you regularly open Canva and spend the first ten minutes hunting down your logo, trying to remember your heading font, or guessing a colour hex code, a Canva Brand Kit is about to make your life much easier.
Think of it as your business’s little design home inside Canva. Your logos, colours, fonts, photos, graphics, templates, and more are all saved in one place, ready whenever you need them. It takes roughly half an hour to set up, but it can save you absolute hours as you create content over time.
Table of Contents
- Step 1: Understand what your Canva Brand Kit does
- Step 2: Create a new brand kit
- Step 3: Upload your logos in the right formats
- Step 4: Add your brand colour palettes
- Step 5: Set your title, heading, and body fonts
- Step 6: Add brand voice and your photo library
- Step 7: Save your brand graphics, icons, and components
- Step 8: Turn repeat designs into brand templates
- Step 9: Use your Brand Kit every time you design
- Step 10: Prioritise consistency over endless options
Step 1: Understand what your Canva Brand Kit does
Your Brand Kit keeps your essential visual assets accessible while you are designing. Inside a Canva design, open the Brand panel in the side menu and you can quickly apply your saved logos, brand colours, and fonts instead of finding or rebuilding them every single time.
You can also store additional brand assets, including:
- Brand photos
- Brand voice guidance
- Custom graphics and design elements
- Icons
- Chart styles
- Brand templates
- Brand guidelines
This is a huge consistency win. You are no longer relying on memory, old files, or a random past design to figure out how your business should look.
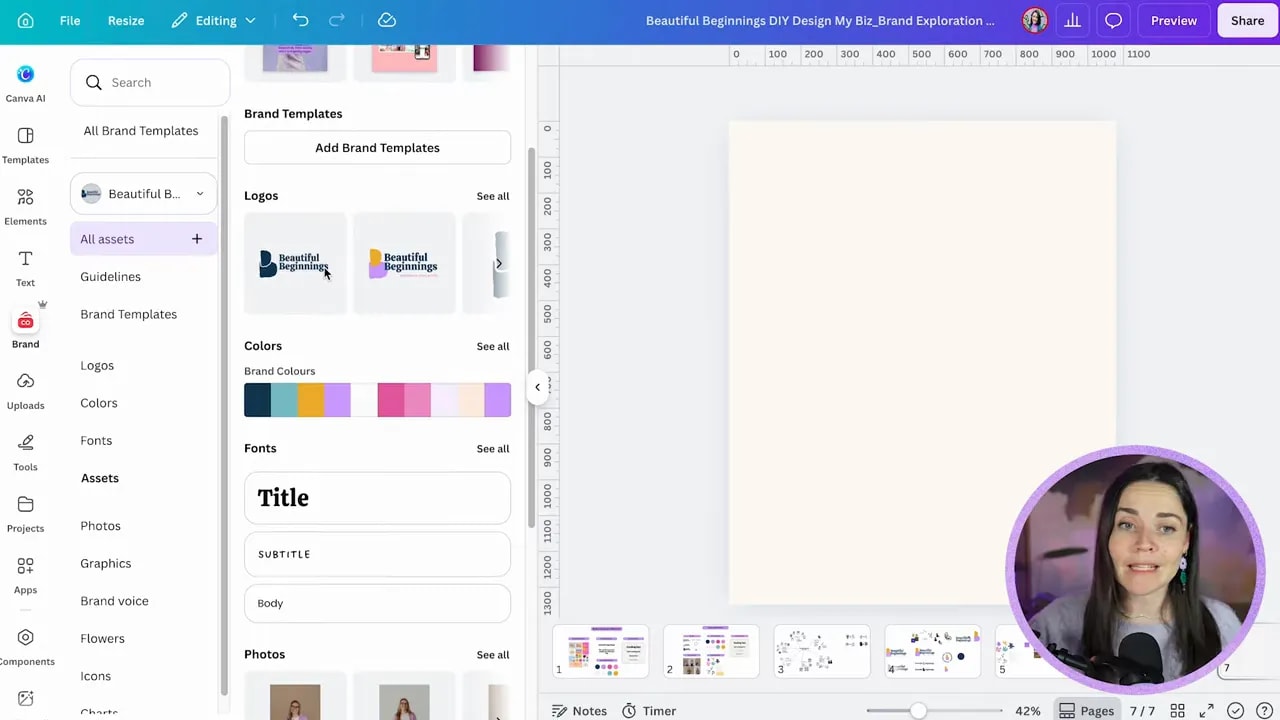
Brand Kits are a Canva Pro feature. If the Brand option is missing from your Canva side panel or appears greyed out, you are likely using Canva Free. You can use a Canva Pro free trial if you would like to test the feature before committing.
Step 2: Create a new brand kit
From the Canva homepage, find Brand in the left-hand sidebar and open your Brand Kit area. If you have more than one business or project, use the dropdown menu to choose Create new brand kit.
Name it after your business so it is easy to identify. If you use Canva Teams, the people in your team can access the Brand Kit too. Keep in mind that a Brand Kit lives inside your Canva account or team. You cannot simply copy a public link and share it with someone outside your team.
Canva may give you a few ways to start:
- Enter your website
- Upload existing brand guidelines
- Set everything up manually
If you already have a professionally designed website or a proper PDF brand guide, the upload option can give Canva a helpful head start. It may identify some of your colours, fonts, and brand voice details for you.
But do not stress if you have none of that. The automatic setup can save a little time, but it will not necessarily pick up every part of your brand correctly. Manual setup is completely fine and gives you more control.
Step 3: Upload your logos in the right formats
Start with the logo section. Click Logos, then choose Add brand assets and upload your files.
The ideal logo format is SVG. SVG files are vector files, which means they stay crisp when resized and can often be recoloured inside Canva. This means you do not need to upload a million different colour versions of the same logo.
If you do not have SVGs, upload transparent PNGs at the very minimum. A transparent background matters because it allows your logo to sit neatly on different colours, photos, and layouts.
Do not upload only one logo version if you have options. A strong logo system usually includes a few useful layouts, such as a primary horizontal logo, a stacked version, an icon or mark, and any alternate arrangement you regularly need.
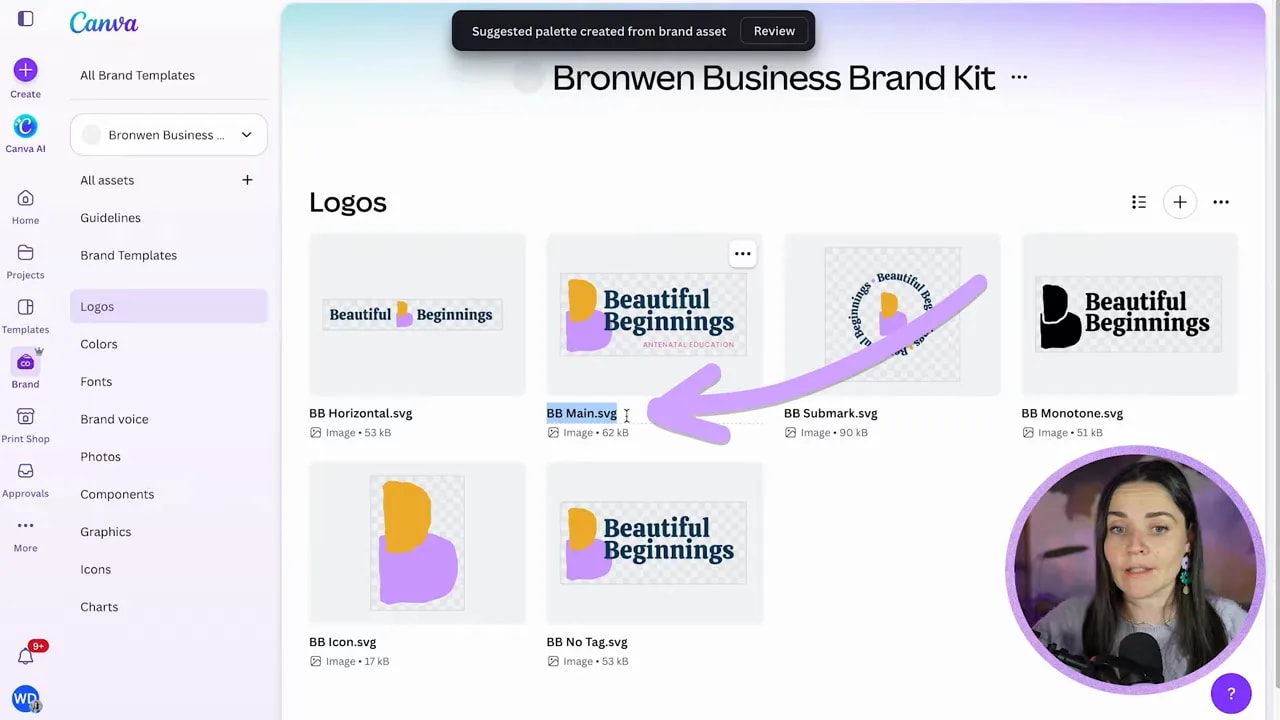
Give each logo a sensible name by clicking the pencil icon after uploading. Clear names make life much easier later, especially if multiple people are creating content for the business.
If you update a logo in the future, use the three-dot menu and look for Replace across designs. This is a very handy option when an existing logo needs replacing in designs that already use it.
Step 4: Add your brand colour palettes
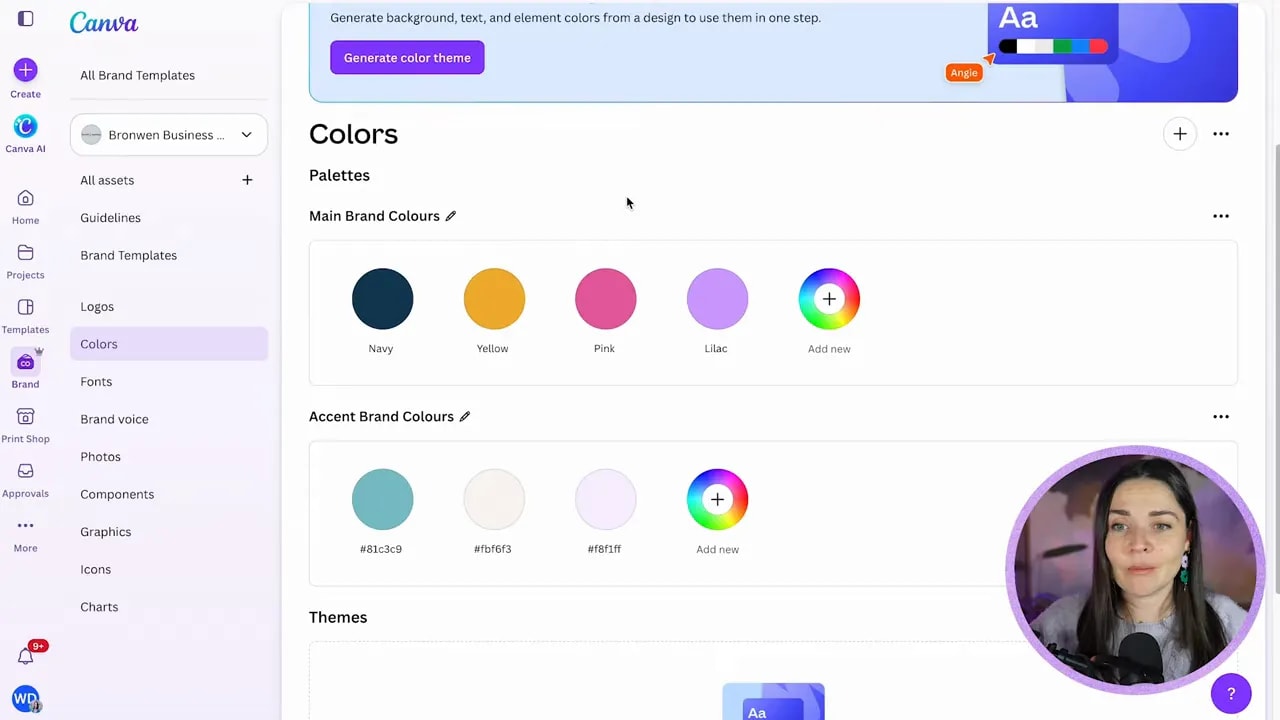
Next, head into Colours. If you have uploaded SVG logo files, Canva may automatically suggest palettes based on the colours it finds in those files. You can keep the suggestions you like, remove the duplicates, and rename the palette something clear such as “Main Brand Colours.”
You can create separate palettes too. For example, you may want one palette for your core colours and another for accent colours.
Add colours manually with hex codes
To manually add a colour, open any Canva design where that colour already exists. Click the coloured element, then click its colour swatch in the toolbar. Click again to reveal the colour’s hex code.
A hex code is the six-character code that identifies a specific digital colour. Copy that code, return to your Brand Kit, select Add new colour, and paste it in.
You can name each colour if you like. Keep it practical with names such as navy, yellow, pink, and off-white, or use more personality-led names if that suits your brand. Canva will otherwise show the hex code alongside the colour.
You can also add CMYK values where needed, plus gradient versions of colours.
Use the clever SVG shortcut for a full palette
If your colour palette is already laid out in Canva as coloured circles or swatches, there is a faster little cheat.
- Select all the colour circles in your design.
- Right-click and choose Download selection.
- Download the selection as an SVG.
- Upload that SVG temporarily into your Brand Kit assets.
- Go back to Colours and review the palette Canva suggests from the SVG.
- Keep and name the suggested palette, then delete the temporary SVG asset from your logo section.
Because Canva reads colours from SVG graphics, this shortcut can pick up your palette in one hit without manually copying every individual hex code.
Step 5: Set your title, heading, and body fonts
Now move to Fonts. You can choose fonts from Canva’s library or, as a Canva Pro user, upload fonts you have purchased elsewhere.
Start simple. You do not need to fill out every possible font style. For most businesses, begin with:
- Title font: for big, standout headings
- Subheading font: if your brand uses a separate option
- Body font: for readable paragraphs and smaller text
Click into each font category, select your chosen typeface, adjust the default size if useful, and save. Setting these up means your brand fonts are always available when you add text to a Canva design.
FREE Design Tools to $100k Masterclass
Grow your biz with clever design and Canva hacks that will save you hours and make you sales.
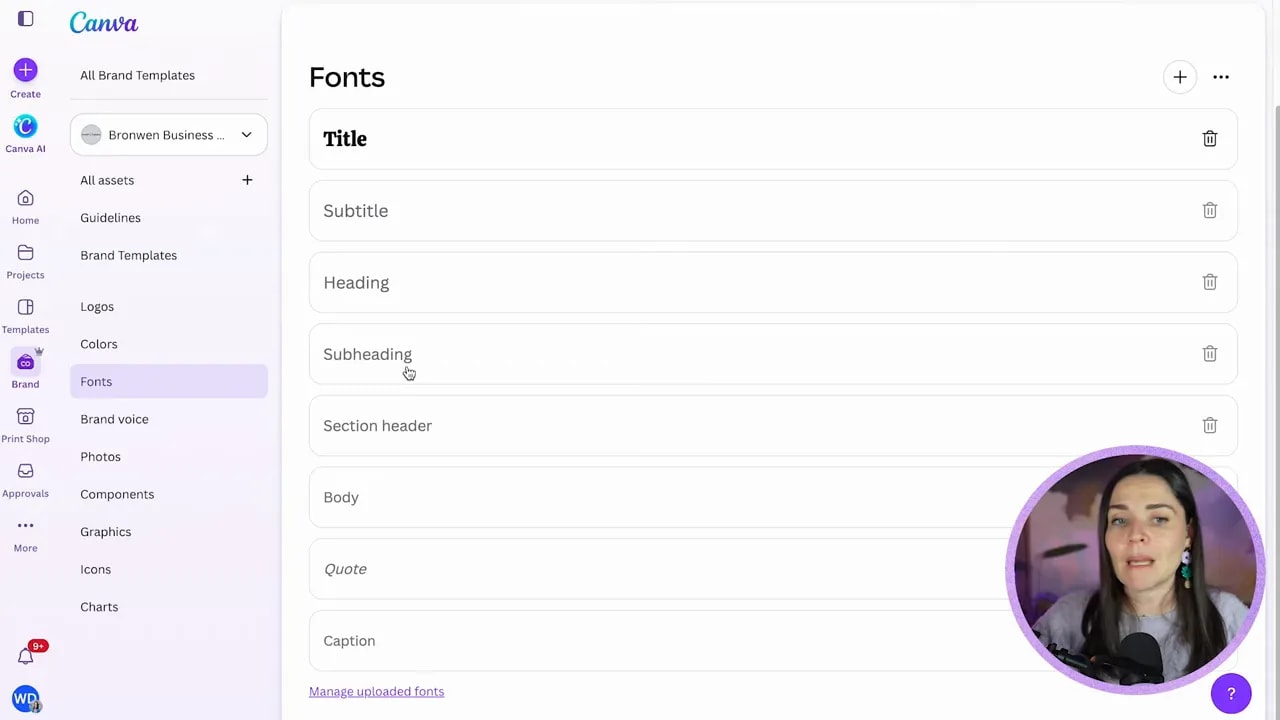
If you are uploading a purchased font, click the plus button and choose Upload a font. Font files will usually be in OTF or TTF format. Just make sure you have the correct licence and rights to use that font for your business.
Step 6: Add brand voice and your photo library
The Brand voice section is optional, but useful if other people write for your business or if you use Canva AI tools to help create copy.
Add a short description of how your brand should sound. You might outline the personality, language style, level of professionalism, or words and phrases that feel particularly on-brand. If you are the only person doing all the writing and do not use AI copy tools, you may not need this section right now.
In Photos, upload the brand images you use often. These might include personal brand photos, product images, client photography, or team photos.
Take a moment to rename your images clearly. “Person sitting on chair” or “Person typing on laptop” is much more useful than a camera file name when your library starts growing.
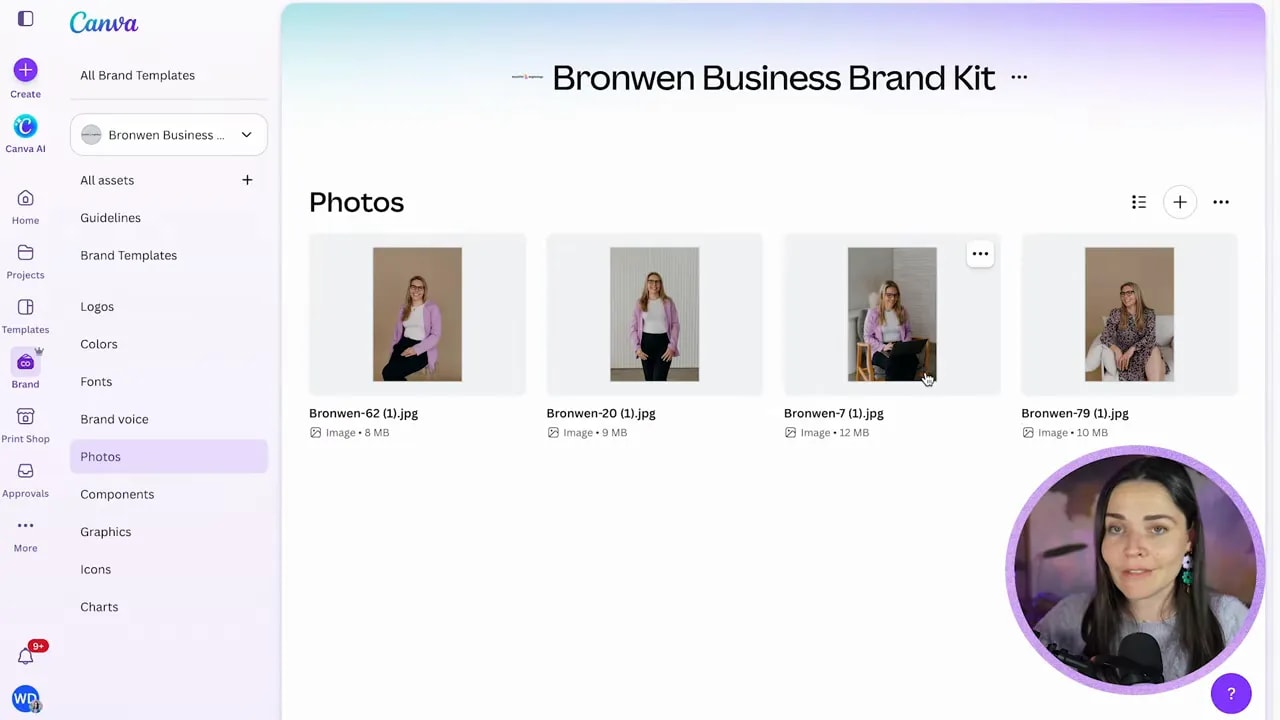
Depending on your Canva setup, you may also have the option to link a folder rather than upload individual photos. This can be particularly useful for larger photo libraries, though some folder-linking options may be limited to Canva Teams.
Step 7: Save your brand graphics, icons, and components
This is the bit that makes your Canva designs feel genuinely like you, rather than a random Canva template with your logo dropped on top.
Brand elements are the recurring little graphics that add personality and recognisability to your designs. They may include flowers, squiggles, shapes, patterns, illustrations, textures, graphic dividers, or custom accents.
Open the Graphics section and upload custom elements supplied by a designer, ideally as SVG files or transparent PNGs. SVG is brilliant for simple graphics because you can often recolour it as you design. PNGs can work well for more complex artwork.
If you find a Canva element you want to use repeatedly, you can save it into a dedicated folder. Open the element’s three-dot menu, select Info, then choose Add to folder. Create a folder called something obvious, such as “Brand Elements,” and link that folder to your Brand Kit where available.
Use Canva Components for reusable design assets
Canva Components are a newer feature that lets you save a pre-made graphic or a collection of graphics as a reusable asset.
To make one, right-click the graphic you want to save and choose Create component. Give it a helpful name, choose Save to brand kit, and select the category where it belongs, such as Graphics or Components.
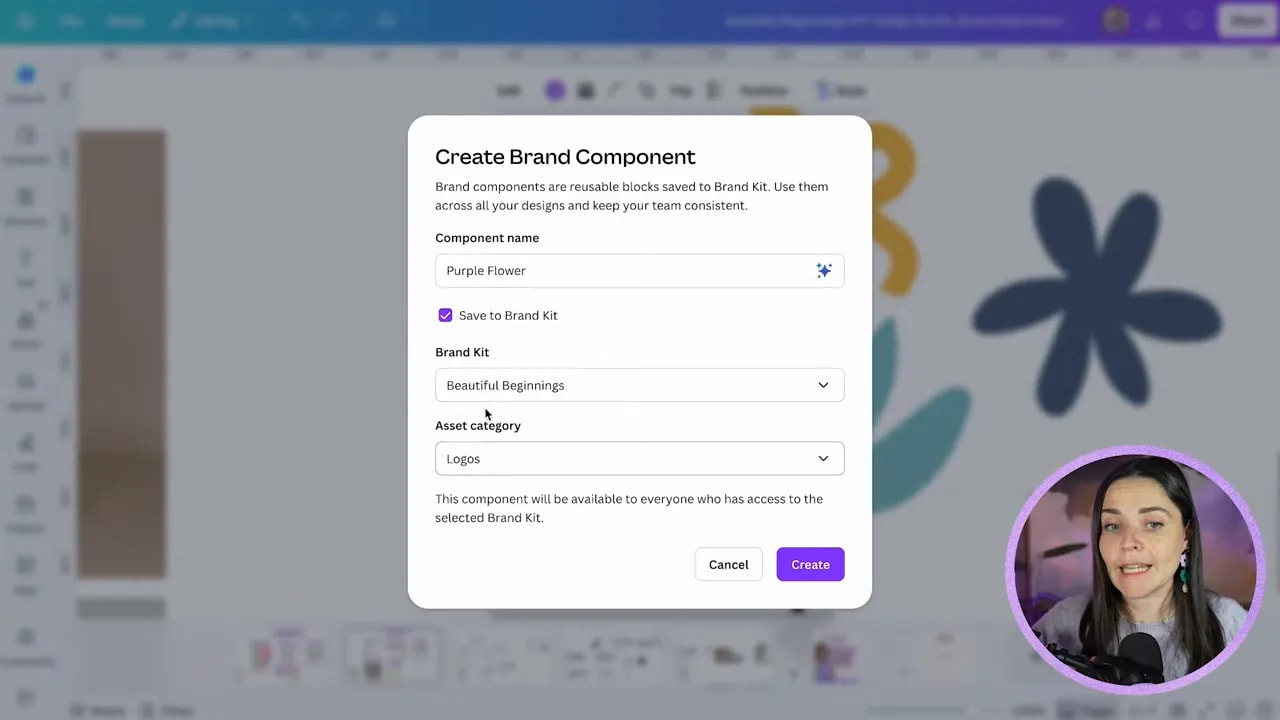
Once saved, that little piece of your visual identity can be dropped into future designs without searching the Elements library all over again. It is beautifully practical.
You can use the same general approach for:
- Icons: useful when your designer has created a matching icon pack
- Charts: useful if your business regularly creates charts in a particular colour scheme or style
- Custom categories: useful when you need a specific place for a type of asset that does not fit the default sections
Step 8: Turn repeat designs into brand templates
If you create the same kinds of graphics often, save your finished Canva designs as Brand Templates. This is ideal for social posts, story graphics, presentations, worksheets, lead magnets, and other repeatable content.
Inside a design, select Share and choose the option to make it a Brand Template. It will then be available from your Brand Kit whenever you need it.
Templates protect your consistency and speed up your workflow massively. Instead of beginning from a blank page, you can start with a design that already has the right spacing, colours, font combinations, logo placement, and overall look.
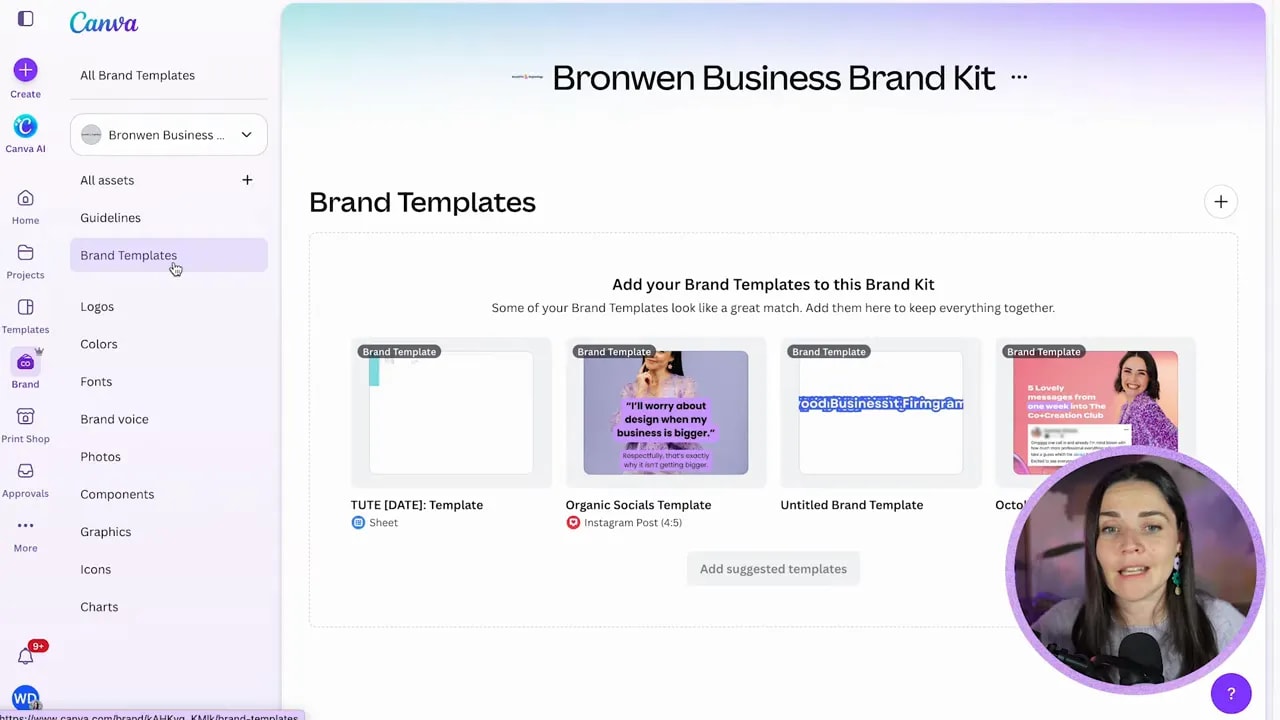
If you already have a PDF brand guide, you can store that in the Brand Guidelines section too. That gives anyone working on the business a clear reference point for using your visual identity correctly.
Step 9: Use your Brand Kit every time you design
The entire point of this setup is that your branding becomes effortless to access while you are creating.
When you open a design, use the Brand panel to:
- Click a saved logo to place it in the design
- Apply your brand fonts to text
- Choose exact brand colours from the colour picker
- Add your photos, graphics, icons, and components
- Begin with an approved brand template
You do not have to remember a font name. You do not have to know your colour hex codes by heart. You do not have to re-upload assets because you have lost the original file somewhere in your computer.
Everything is simply where it needs to be.
Step 10: Prioritise consistency over endless options
Do not get overwhelmed trying to create the world’s most elaborate Brand Kit on day one. Get the core pieces done first:
- Your logo variations
- Your main and accent colours
- Your title and body fonts
- A small collection of brand photos
- A handful of graphics or elements you will actually use
Then add to it gradually as your business grows. Your Brand Kit should make creating easier, not become another giant project you never finish.
If you are sitting there thinking, “Great, but I do not actually know my colours, fonts, logos, or brand elements yet,” start with the foundations. You can get practical guidance in the free Design Tools to $100K masterclass, or build a more strategic DIY brand and ongoing Canva skills through DIY Design My Biz.
Your designs do not need to be complicated to look professional. They need to be consistent, intentional, and recognisably yours. Set up your Canva Brand Kit once, and future-you will be extremely grateful.