
")


Canva’s new Magic Layers feature is one of those tools that makes you stop and think, hang on, this could save me a ridiculous amount of time.
If you’ve ever had an old graphic you needed to update, an AI image you wished you could actually tweak, or a design file that disappeared into the digital abyss, this feature is built for exactly that. It takes a flat image and tries to rebuild it into editable parts like text, photos, shapes, and graphic elements.
It is clever. It is useful. It is also not perfect.
If you know what it does well, and where it gets a bit wobbly, you can use it strategically instead of expecting miracles.
Table of Contents
- Step 1: Understand what Magic Layers actually does
- Step 2: Start with the right kind of file
- Step 3: Choose where you want to access Magic Layers
- Step 4: Let Canva rebuild the image into editable pieces
- Step 5: Expect some quality loss and imperfect reconstruction
- Step 6: Avoid transparent PNGs when possible
- Step 7: Use Magic Layers to rescue your own lost design files
- Step 8: Use it ethically
- Step 9: Use Magic Layers with AI-generated images
- Step 10: Redesign the AI result instead of accepting the original layout
- Step 11: Try it on flat lay and product-style visuals
- Step 12: Clean up the rough spots with other Canva AI tools
- Step 13: Keep your designs simple if you want better results
- Step 14: Know the plan limits and rollout details
- Step 15: Follow the practical do’s and don’ts
- Step 16: Use Magic Layers as a shortcut, not a replacement for design judgment
Step 1: Understand what Magic Layers actually does
Magic Layers uses AI to analyze a flat image and break it apart into editable pieces.
That means Canva will attempt to identify:
- Separate text boxes
- Photos or cutout subjects
- Decorative graphic elements
- Background pieces
- Simple shapes or layout components
The biggest win is that you can take something that used to be “just an image” and start editing it again without rebuilding the whole design from scratch.
This is especially handy for:
- Old social graphics you want to refresh
- Designs where you’ve lost the original editable file
- AI-generated images that need layout changes
- Branded graphics you own and want to update
Step 2: Start with the right kind of file
This part matters more than you might think.
Magic Layers works with JPEG and PNG files. It does not work with PDFs or other vector-style files.
That can feel a bit annoying because PDFs often contain structured design information already, but Magic Layers is not reading vector data. It is using AI to reconstruct the image from the flattened version you upload.
So before you do anything else, make sure your file is:
- Saved as a JPG or PNG
- Uploaded into Canva
- Inserted as an image element, not attached as the page background
That last point is important. If you right click and set the image as the design background, Magic Layers will not be available. The image needs to stay as a normal selectable object on the page.
If you already made it a background, detach it first and then try again.
Step 3: Choose where you want to access Magic Layers
You can use Magic Layers in two places:
- Inside a Canva design after placing your image on the page
- From the Canva homepage before opening a design
If you are already working inside a project, the easiest path is usually this:
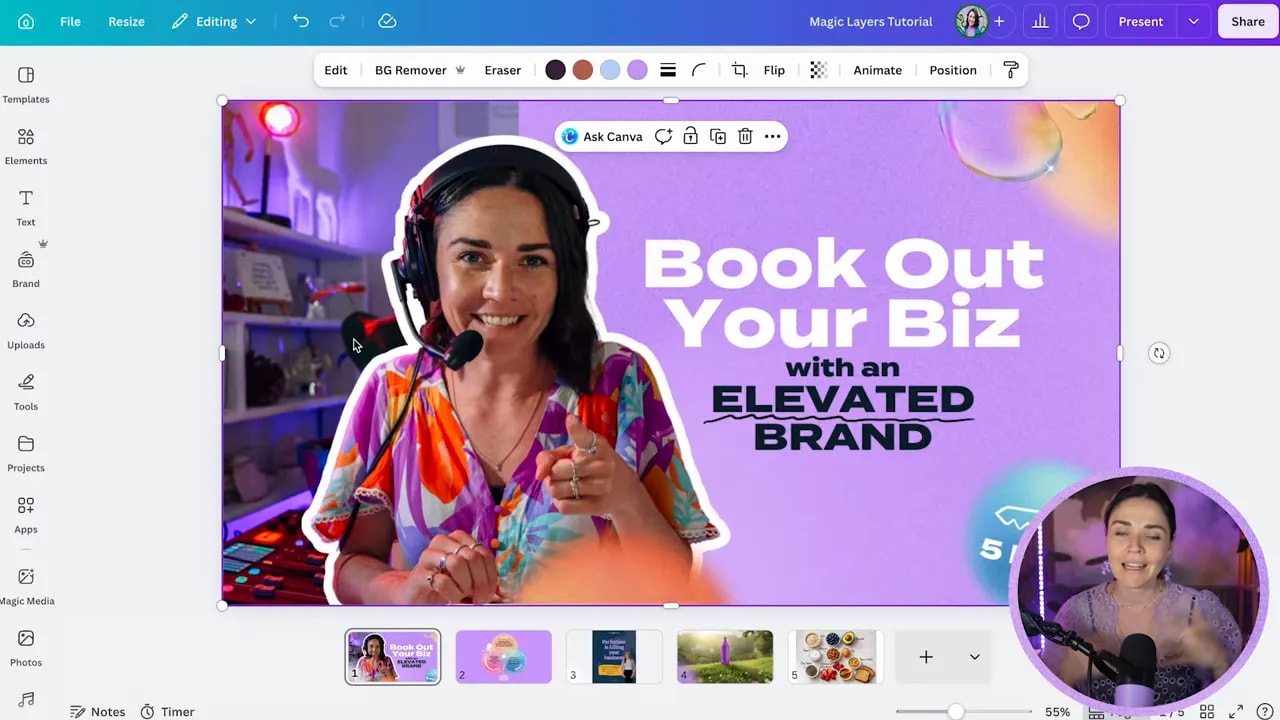
- Select the uploaded image
- Click Edit
- Find Magic Layers under Magic Studio
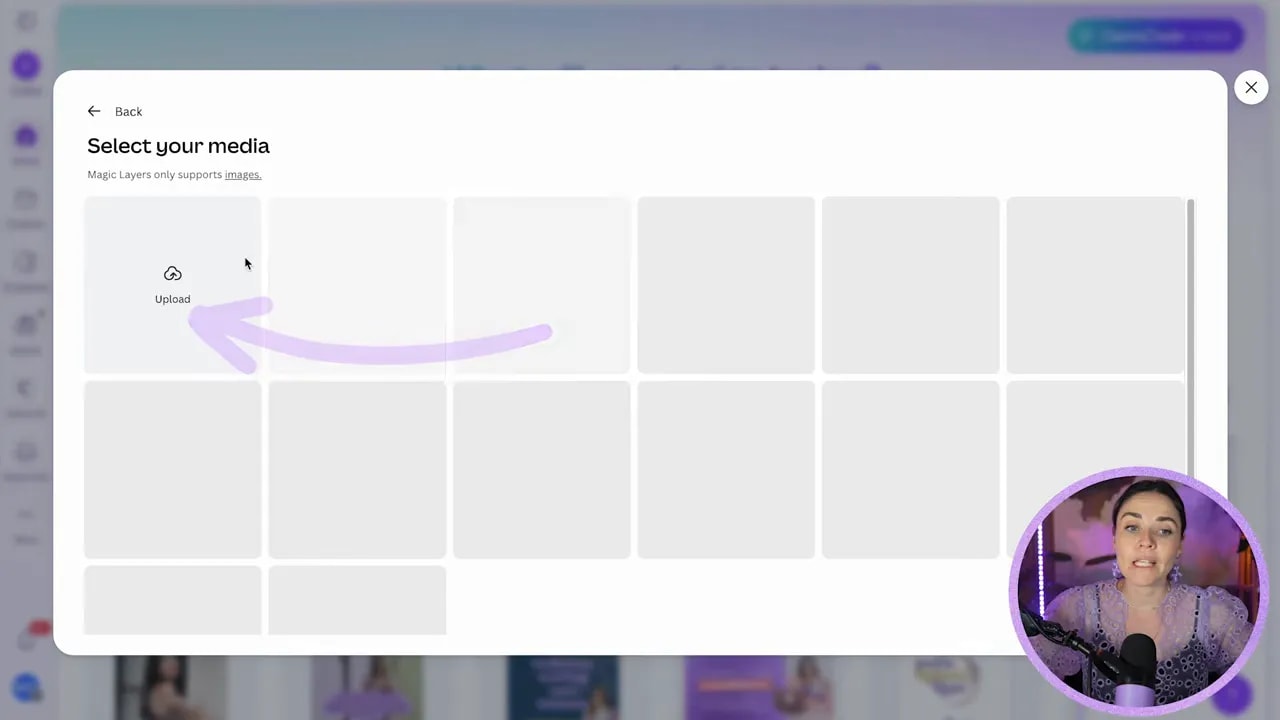
If you are starting fresh, you can also launch the tool from Canva’s home screen and choose a file from your uploads there.
Both approaches do the same thing. It just depends whether you prefer to prep the design first or let Canva process the file before you build around it.
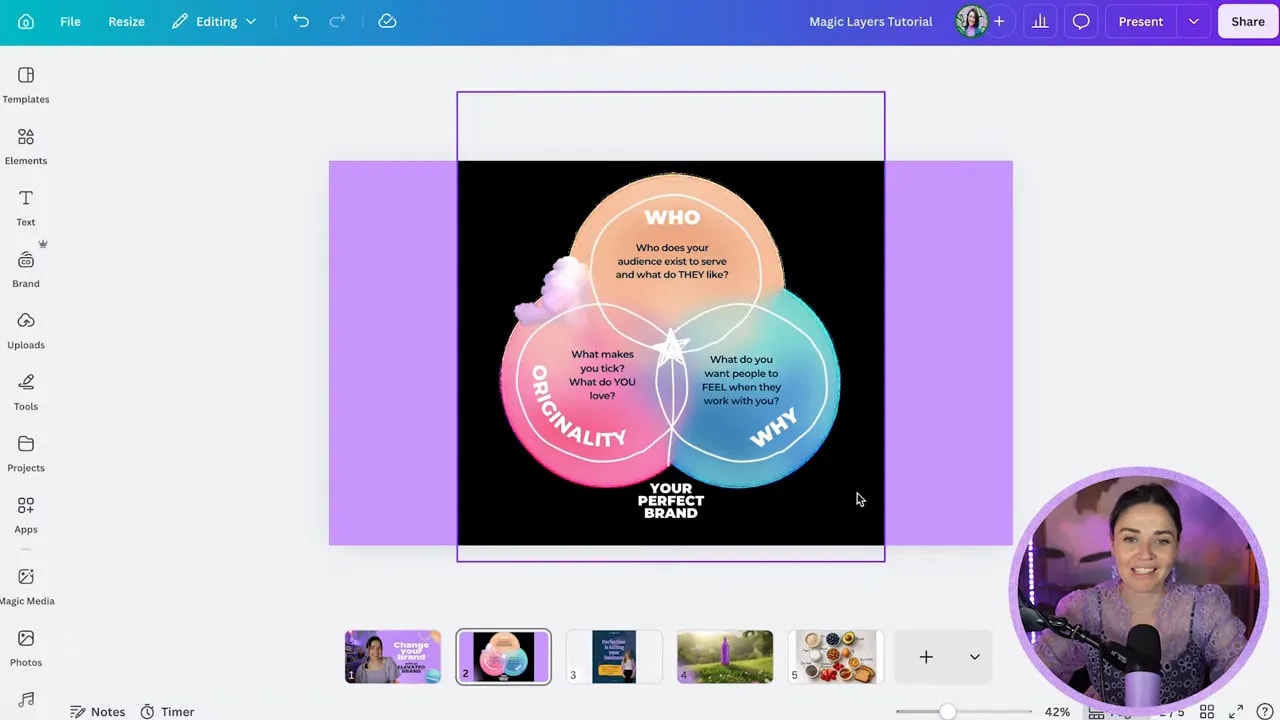
Step 4: Let Canva rebuild the image into editable pieces
Once you run the tool, Canva will scan the image and generate separate editable elements.
For example, a thumbnail graphic that originally looked locked and flattened can suddenly become a proper working design again. The person in the image might be separated from the background, text may become editable, decorative shapes may become individual pieces, and small callouts or labels can become their own movable elements.
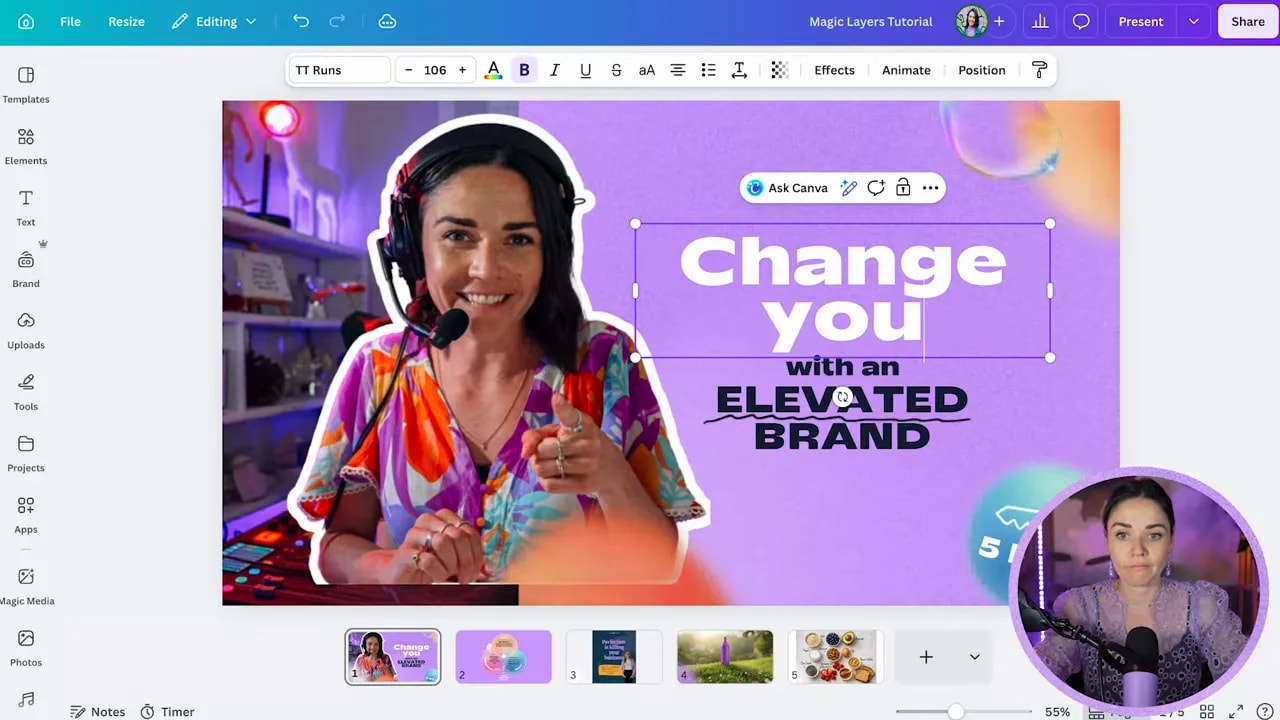
This is where the feature gets genuinely exciting. You can:
- Rewrite the headline
- Move the text around
- Swap in a new photo
- Delete an outdated element
- Resize or reposition decorative graphics
That said, Canva is still guessing. It does not know exactly how the original file was built. It is recreating the closest editable version it can.
So always check the result carefully before assuming it is production-ready.
Step 5: Expect some quality loss and imperfect reconstruction
This is the part people need to hear before they get overexcited.
Magic Layers can be brilliant, but it can also introduce flaws.
Common issues include:
- Pixelation in recreated graphics
- Soft or blurry edges on decorative elements
- Missing shadows under objects
- Inexact font matches
- Background artifacts where Canva had to invent missing areas
If your original design used a font that Canva does not have, it will substitute the nearest match from its own library. Sometimes that works fine. Sometimes it changes the whole feel of the design.
And if you zoom in on certain recreated shapes or textures, you may find they are noticeably lower quality than the original.
The right mindset is this: use Magic Layers to get a head start, not to guarantee a perfect restoration.
Step 6: Avoid transparent PNGs when possible
Here’s one of the biggest gotchas.
Transparent PNGs can behave badly in Magic Layers.
When Canva tries to reconstruct a design with no visible background, it can struggle with glows, soft edges, blurred circles, or overlapping transparency effects. In some cases, it will even replace the transparency with a dark or black background while processing.
If your image has transparent elements and the result comes back messy, a simple workaround is to place that image onto a solid background color first, then download it again as a normal PNG without transparency and re-run Magic Layers on that version.
That gives the AI more visual information to work with and usually leads to better separation.
Step 7: Use Magic Layers to rescue your own lost design files
This is probably the most obvious and most useful use case.
Say you created a graphic ages ago, you still have the final image, but the editable design has gone missing. Normally you’d have to remake the layout from scratch.
With Magic Layers, you can upload that flat file and recover a workable version of the design.
It may not come back perfectly, but it can save you from rebuilding:
- Title text
- Subheadings
- Cutout portraits
- Badges or callout bubbles
- Colored backgrounds and textures
That means what used to be a one-hour remake can become a quick edit and tidy-up job instead.
Step 8: Use it ethically
Just because you can make something editable does not mean you should.
Magic Layers is best used on:
FREE Design Tools to $100k Masterclass
Grow your biz with clever design and Canva hacks that will save you hours and make you sales.
- Your own graphics
- Designs you created but no longer have the source file for
- Assets you’ve fully paid for and have permission to modify
- Images you generated yourself using AI tools
It is not a shortcut for lifting someone else’s design from the internet and picking it apart for your own use.
This tool is powerful, which means using it well includes using it kindly and legally.
Step 9: Use Magic Layers with AI-generated images
This is where things get especially fun.
AI image generators are fantastic at creating a concept, but the result is often frustratingly uneditable. You might get a lovely mockup, nice composition, and even some text baked into the image, but if you want to change the layout, font, object size, or placement, you’re stuck.
Magic Layers gives you a workaround.
If you import an AI-generated image into Canva and run Magic Layers on it, Canva may separate the subject, text, and even simple scene elements so you can rearrange them.
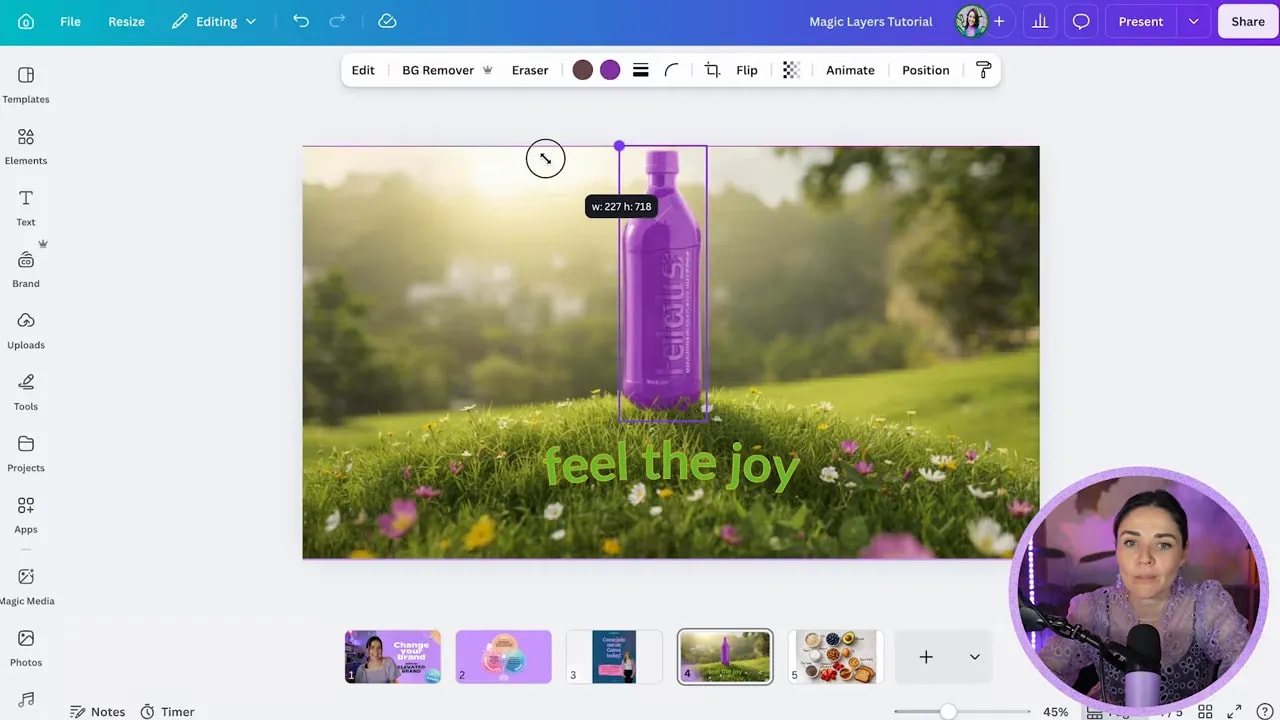
In one example, an AI image of a drink bottle sitting on a grassy hill was flattened and uneditable. After running Magic Layers, the bottle became its own movable object, the hill could be shifted separately, and the text could be restyled and repositioned.
That opened up all sorts of options:
- Make the bottle bigger
- Move the text to a better area
- Change font style and color
- Adjust the layout to fit a different format
There was a little quality loss in the background, but the flexibility gained was well worth it.
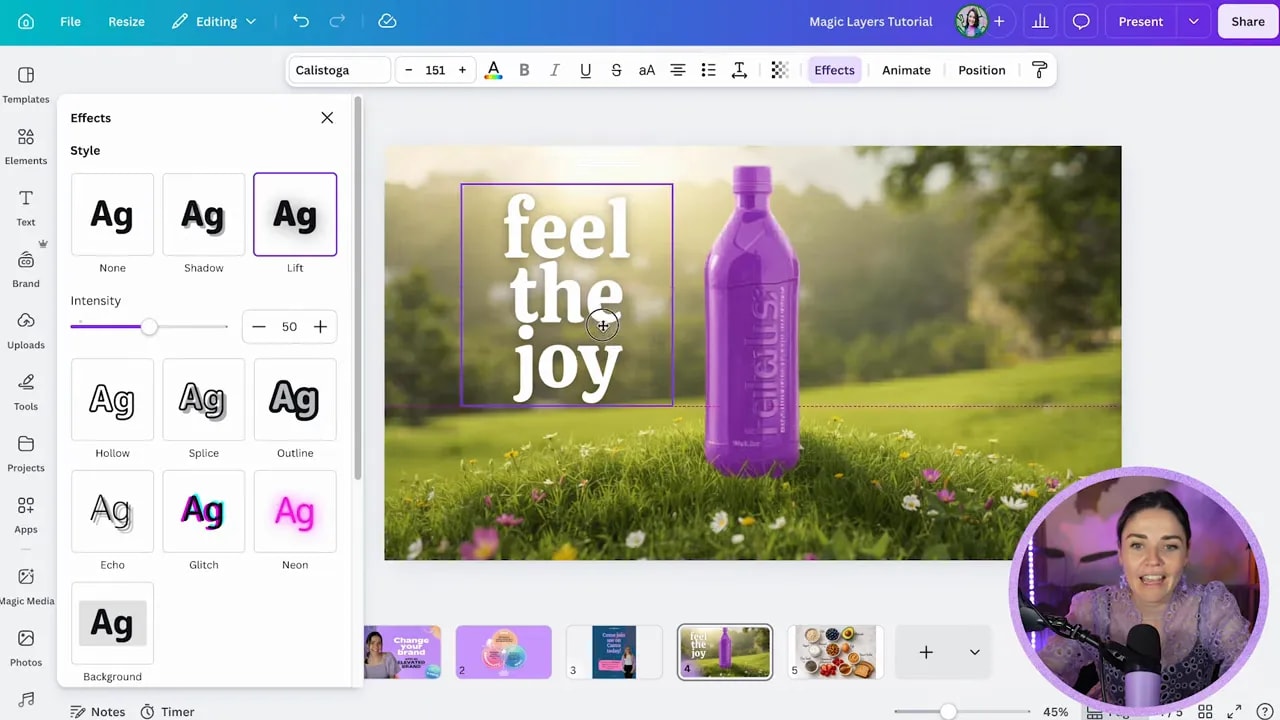
Step 10: Redesign the AI result instead of accepting the original layout
Once Magic Layers has separated the parts, do not feel locked into the original composition.
This is where Canva becomes useful again as a real design tool rather than just a place to hold the image.
You can take the recovered pieces and rebuild the layout to better suit your brand.
For example, after extracting text from an AI image, you can:
- Remove odd curved settings
- Change the spacing
- Apply a stronger brand font
- Add a shadow or text effect
- Move the copy into a cleaner composition
That is the real sweet spot here. You are not using the AI image as the final answer. You are using it as a starting point.
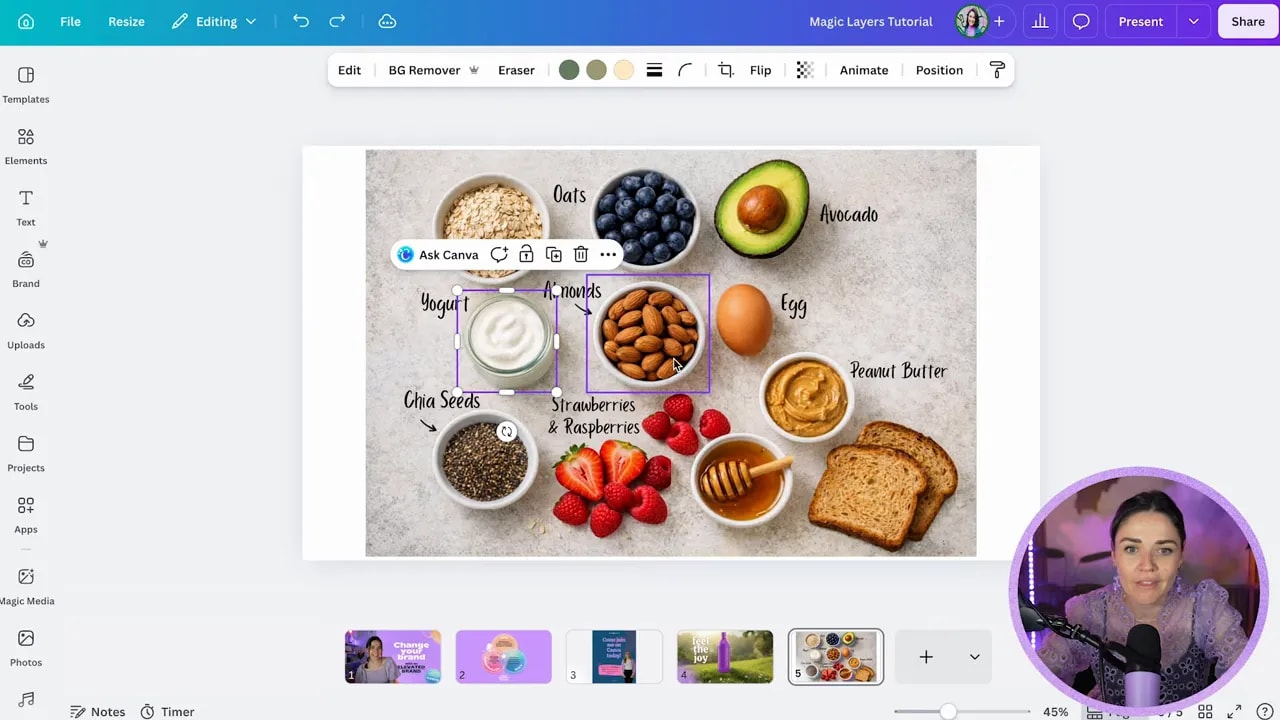
Step 11: Try it on flat lay and product-style visuals
Another clever use case is flat lay imagery with objects and labels.
Imagine an AI-generated recipe layout with bowls, ingredients, and handwritten labels. Normally, if one item is in the wrong place, if the font is off-brand, or if you want to remove one ingredient, you’d be starting all over.
Magic Layers can often separate:
- Individual bowls or ingredients
- Text labels
- Decorative objects
- Background surface
That lets you do things like:
- Delete an ingredient you no longer want
- Move one bowl to improve balance
- Resize an item for emphasis
- Swap to a more on-brand font
- Rebuild the background yourself
One issue that can show up here is missing object shadows. Canva may pull the object out cleanly but leave behind an awkward shadow or an empty patch. That is not ideal, but it is still often much faster than recreating the whole composition manually.
Step 12: Clean up the rough spots with other Canva AI tools
Magic Layers does not have to do all the heavy lifting by itself.
Once your image is broken into pieces, you can combine it with Canva’s other editing tools to improve the final result.
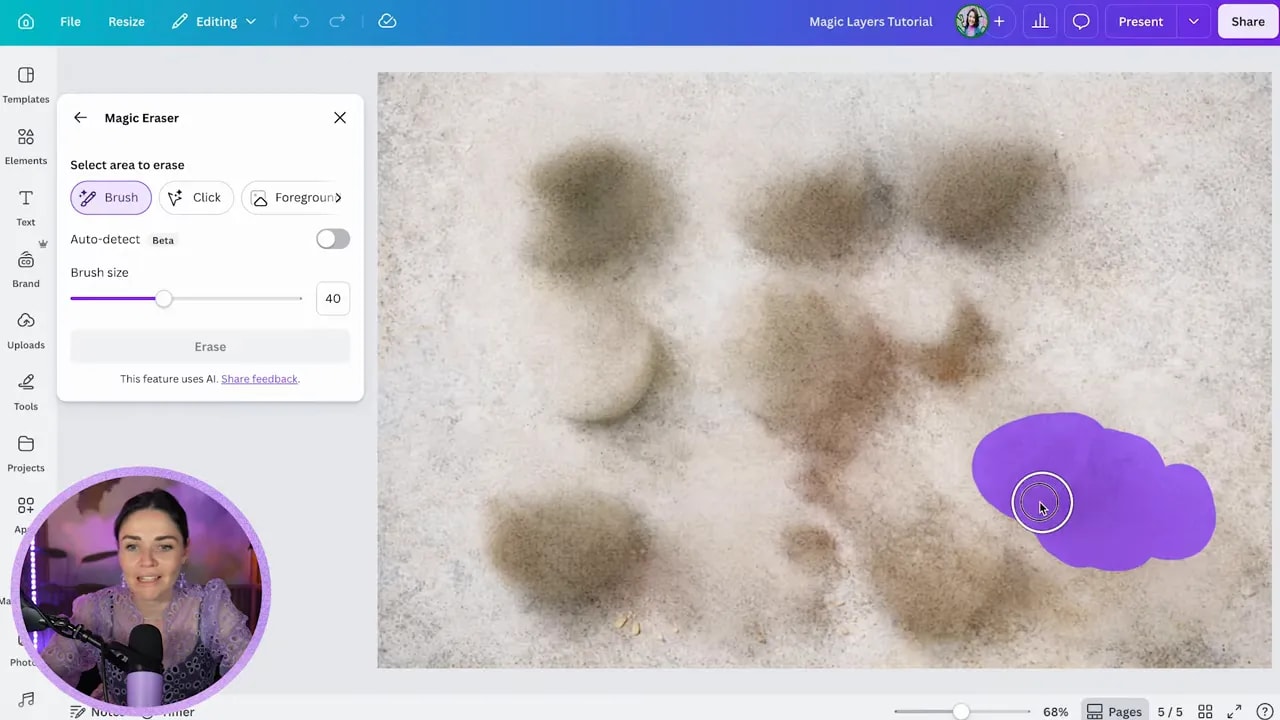
One especially useful option is the Magic Eraser. If Magic Layers removes an object but leaves behind a weird shadow or smudge, you can manually erase that area to soften the evidence.
You can also go further and replace the background entirely. In the flat lay example, switching to a wooden tabletop image and then adding your own graphic shadows underneath the separated ingredients creates a cleaner, more intentional result.
That approach works beautifully when the original AI background is the weakest part of the image.
Step 13: Keep your designs simple if you want better results
Magic Layers tends to work best when the source image is reasonably clear and not overly chaotic.
If your design has:
- Tiny text everywhere
- Lots of overlapping textures
- Heavy blur effects
- Intricate layered transparency
- Very complex compositions
then the AI has more chances to get confused.
Simple layouts with clear contrast between objects, text, and background tend to give you much stronger results.
So if a file completely falls apart after processing, that does not necessarily mean you did anything wrong. It may simply be too visually complex for the current version of the tool.
Step 14: Know the plan limits and rollout details
At the time this feature was demonstrated, Magic Layers was marked as a Canva Pro feature.
There may be limited access in some free accounts, but for consistent use you will likely need Pro. Pro users had a monthly credit allowance that should be more than enough for most small business owners, while enterprise accounts had broader access.
If you do not see the feature yet, it may simply still be rolling out. It was being released gradually in places like the US, UK, Canada, and Australia first.
If you want to test whether it suits your workflow, you can try a Canva Pro free trial.
Step 15: Follow the practical do’s and don’ts
Here’s the short version to keep in your back pocket.

- Do use JPG or PNG files
- Do keep the image detached from the background
- Do expect to tidy things up manually afterward
- Do use it for your own files or assets you are allowed to edit
- Do pair it with tools like Magic Eraser when needed
- Don’t expect perfect font matching if Canva does not have the original font
- Don’t rely on transparent PNGs if you can avoid it
- Don’t expect miracles from ultra-complex graphics
- Don’t use it to repurpose someone else’s design without permission
Step 16: Use Magic Layers as a shortcut, not a replacement for design judgment
This is really the whole point.
Magic Layers is not here to replace good design thinking. It is here to remove busywork.
It can rescue old assets, make AI images usable, and give you a head start when you would otherwise be rebuilding a design from scratch. But the best results still come from your eye, your strategy, and your willingness to clean things up properly.
If you treat it as a smart assistant instead of a magic wand, it becomes incredibly useful.
If you want more help using Canva more strategically, not just more quickly, the free Design Tools to $100K masterclass is a natural next step.


