











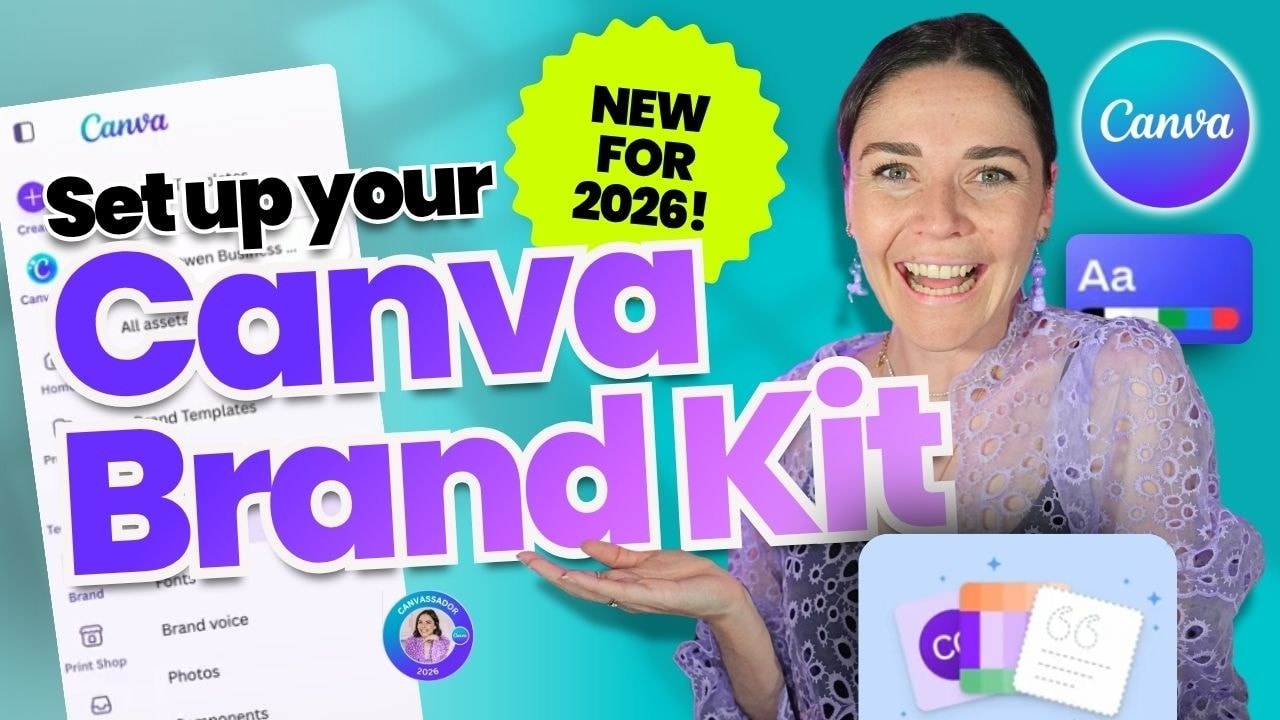
If you regularly open Canva only to spend the first ten minutes hunting down a logo, trying to remember your heading font, or guessing a hex code, it is time to set up your Canva Brand Kit.
A Brand Kit puts your essential brand assets in one spot: logos, colours, fonts, photos, graphics, icons, templates, and more. Once it is set up, you can pull everything into a design in a couple of clicks, which means faster graphics and much more consistent branding.
Table of Contents
- Step 1: See How Your Brand Kit Works Inside a Design
- Step 2: Create a New Canva Brand Kit
- Step 3: Upload Brand Guidelines if You Have Them
- Step 4: Add Your Logo Files Properly
- Step 5: Build Your Brand Colour Palettes
- Step 6: Set Up Your Brand Fonts
- Step 7: Add Your Brand Voice, Photos, and Graphics
- Step 8: Use Components to Save Reusable Design Elements
- Step 9: Save Brand Templates for Repeatable Designs
- Step 10: Prioritise the Setup and Keep It Useful
Step 1: See How Your Brand Kit Works Inside a Design
Your Brand Kit is not just somewhere to store files. It is designed to make the actual creating part much easier.
When you are inside any Canva design, open the Brand panel from the side menu. You will be able to access your saved logos, brand colours, font styles, photos, graphics, and other assets right there while you work.
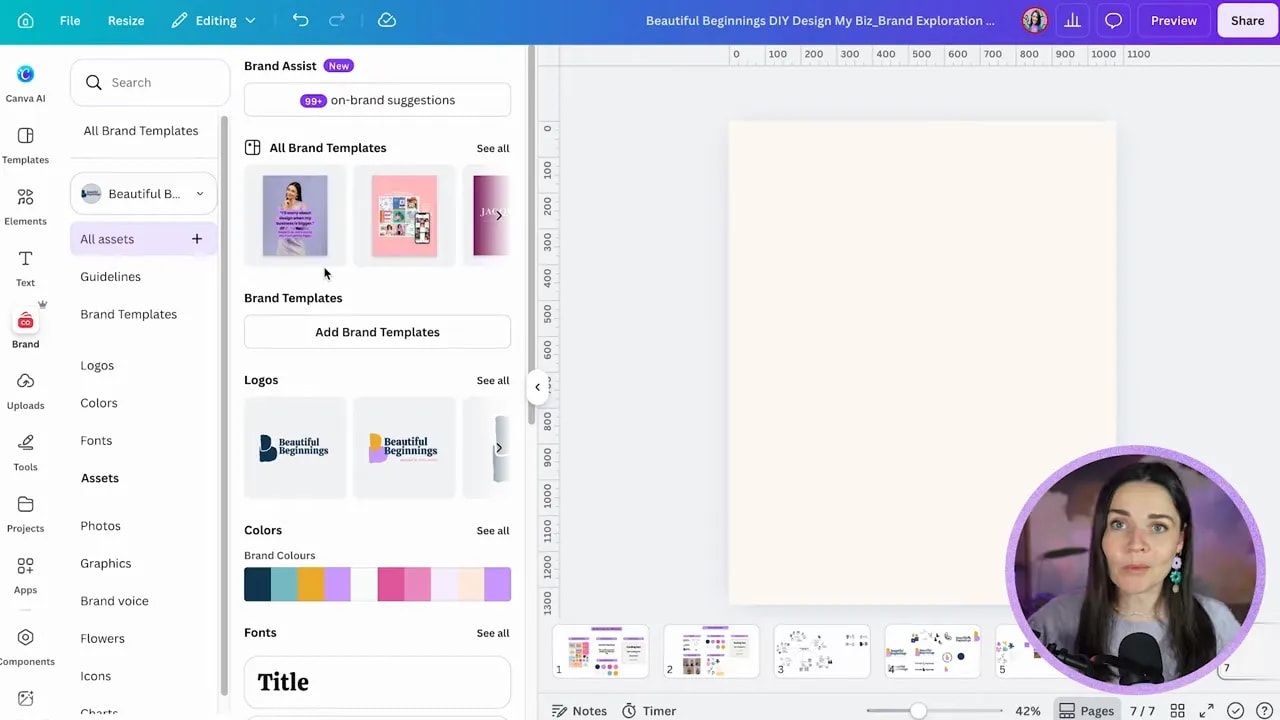
That means you can click a logo to place it on your design, choose your exact brand colours from the colour picker, and apply your saved fonts without trying to remember a single font name or hex code. As a business owner, that kind of time saving genuinely adds up.
Step 2: Create a New Canva Brand Kit
Head to the Canva home page and find Brand or Brand Kit in the left side panel. If the option is greyed out or missing, you are likely using Canva Free rather than Canva Pro.
Open the Brand Kit area, use the brand dropdown, and select Create new brand kit. Give the kit your business name so it is easy to identify later.
If you use Canva Teams, people on your team can access the shared Brand Kit. It lives inside your Canva account and team, though, so it is not something you can simply copy as a public link and send outside your team.
Canva may offer a personal Brand Kit option as well. For a straightforward business setup, create a standard Brand Kit and focus on getting the useful essentials in place first.
Step 3: Upload Brand Guidelines if You Have Them
If you already have a polished website or a brand guidelines PDF from a designer, Canva can use it as a shortcut. Choose the option to upload your website or brand guidelines, then let Canva scan the material for colours, fonts, and parts of your brand voice.
This can give you a helpful head start, particularly if your brand has already been professionally developed. But do not rely on it to get absolutely everything right. Canva may identify some colours and fonts correctly while missing photos, graphics, themes, or other details.
If you do not have a brand guidelines document yet, do not stress. You can build the Brand Kit manually, section by section, and that is exactly what most newer businesses need to do anyway.
Step 4: Add Your Logo Files Properly
Go to the Logos section and choose Add brand assets, then upload your logo files.
Ideally, upload logos as SVG files. SVGs are vector files, so they stay crisp at different sizes and are often colour-changeable inside Canva. If you do not have SVGs, use transparent PNG files as your next best option.
A proper logo suite should not be just one logo. You want different layouts for different situations, such as:
- Your main logo
- A stacked logo
- A horizontal logo
- A logo mark or icon
- Alternative colour variations where needed
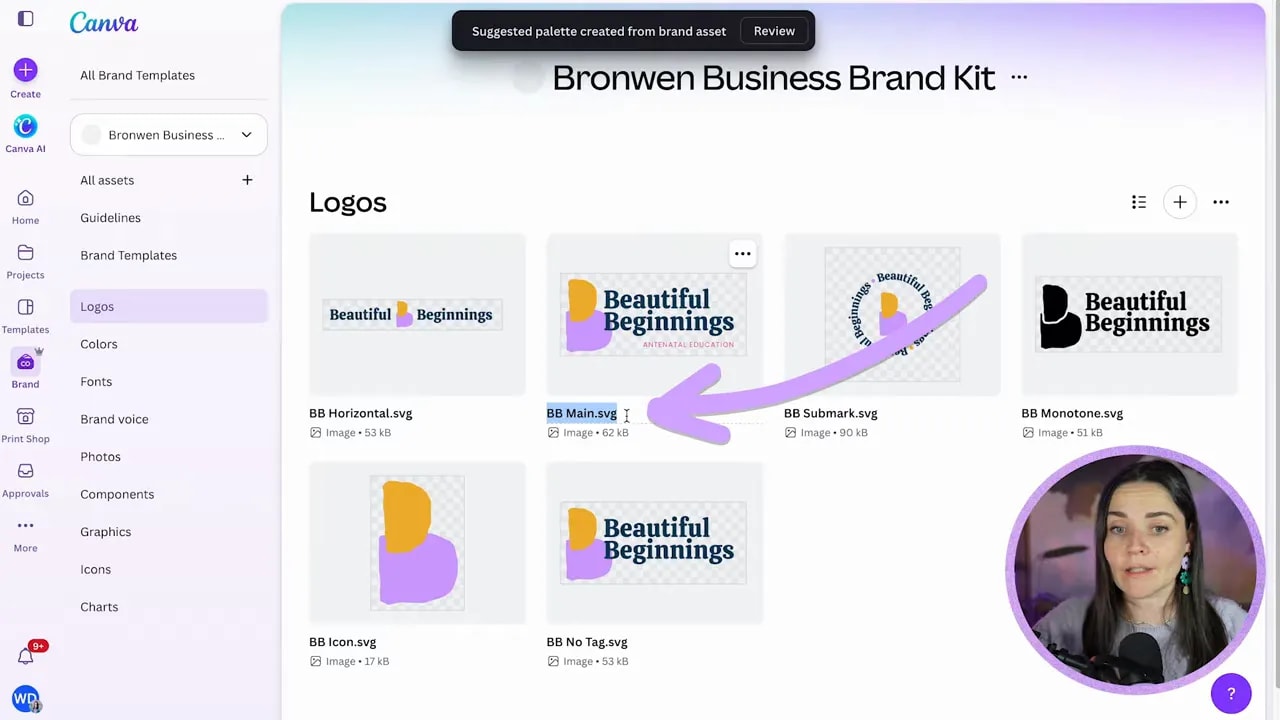
Name your files clearly. You can change an uploaded asset name by selecting the pencil icon. Clear names make your library far easier to use later, especially if you have a team.
If you ever update a logo after it has already been used in designs, open the three-dot menu on that logo and look for Replace across designs. This is very handy when you need to correct or refresh a logo without manually updating every single graphic.
Step 5: Build Your Brand Colour Palettes
Next, open Colours. Canva may automatically suggest colour palettes based on the SVG logos you uploaded. You can keep the useful suggestions, remove duplicates, and rename the palette something clear like “Main Brand Colours.”
You can create more than one palette too. For example, you might have:
- Main brand colours for your core visual identity
- Accent colours for highlights and variation
- Neutral colours such as off-white, cream, charcoal, or soft grey
Add Colours Manually With Hex Codes
The manual method is simple. In a Canva design where your colours already exist, click a coloured element, then click its colour in the toolbar. Click the colour again to reveal the six-digit hex code.
Copy that code, return to your Brand Kit, select Add new colour, and paste it in. You can also add CMYK values if you need them, and Canva gives you the option to create gradient colours too.
Name colours if that helps your process. “Navy,” “Yellow,” and “Pink” work beautifully. Or, if your brand has a more playful personality, use names that suit it. Just make sure you will understand them later.
Use the SVG Shortcut to Add a Whole Palette
There is also a very nifty shortcut if your colour palette already exists as a Canva design.
- Select all the coloured circles or swatches in your palette.
- Right-click and choose Download selection.
- Download the selection as an SVG.
- Upload that SVG temporarily in the Logos area of your Brand Kit.
- Go back to Colours and review Canva’s suggested palette created from that asset.
- Keep the palette, name it, then delete the temporary SVG from your Logos section.
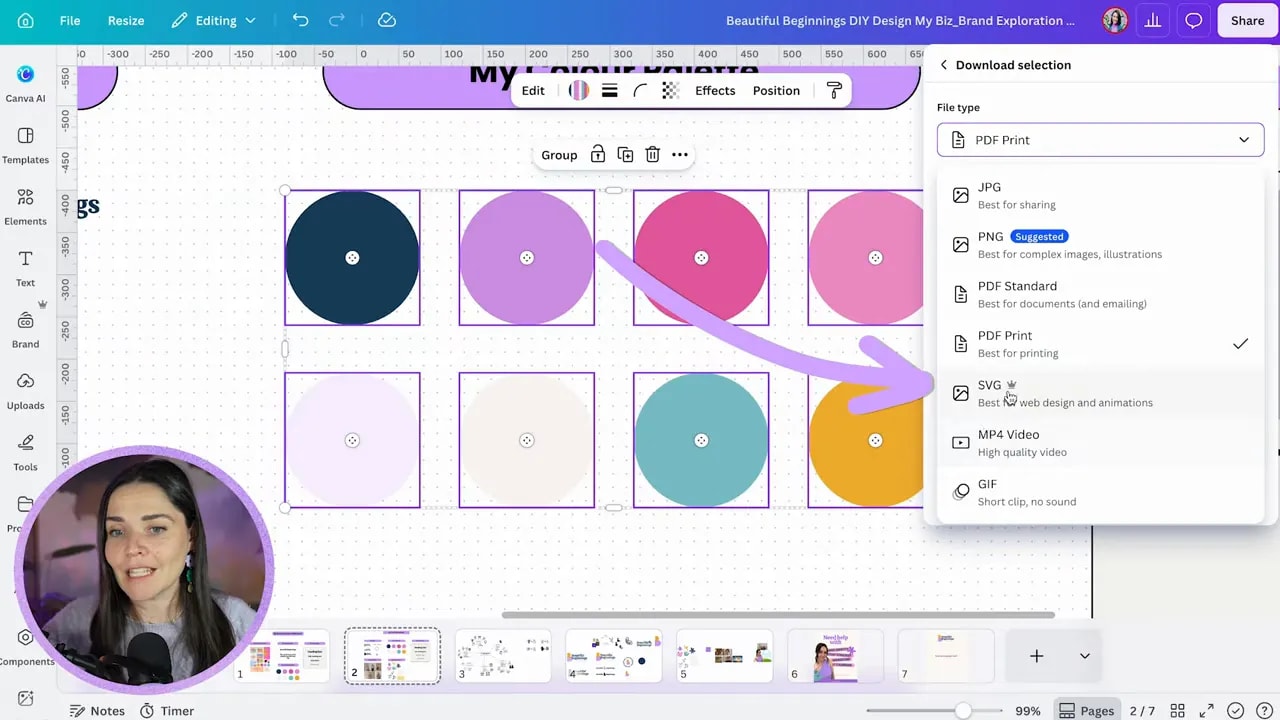
This shortcut is brilliant when you have several colours and do not feel like copying hex codes one by one. Still, it is worth knowing the manual method because it gives you full control.
Step 6: Set Up Your Brand Fonts
Move into the Fonts section. You can choose fonts directly from Canva’s font library or upload fonts you have purchased elsewhere.
Keep this bit simple. You do not need to fill every possible font category. Start with the three that make the biggest difference:
FREE Design Tools to $100k Masterclass
Grow your biz with clever design and Canva hacks that will save you hours and make you sales.
- Title font for large headlines
- Subheading font if your brand uses one
- Body font for readable paragraphs and smaller text
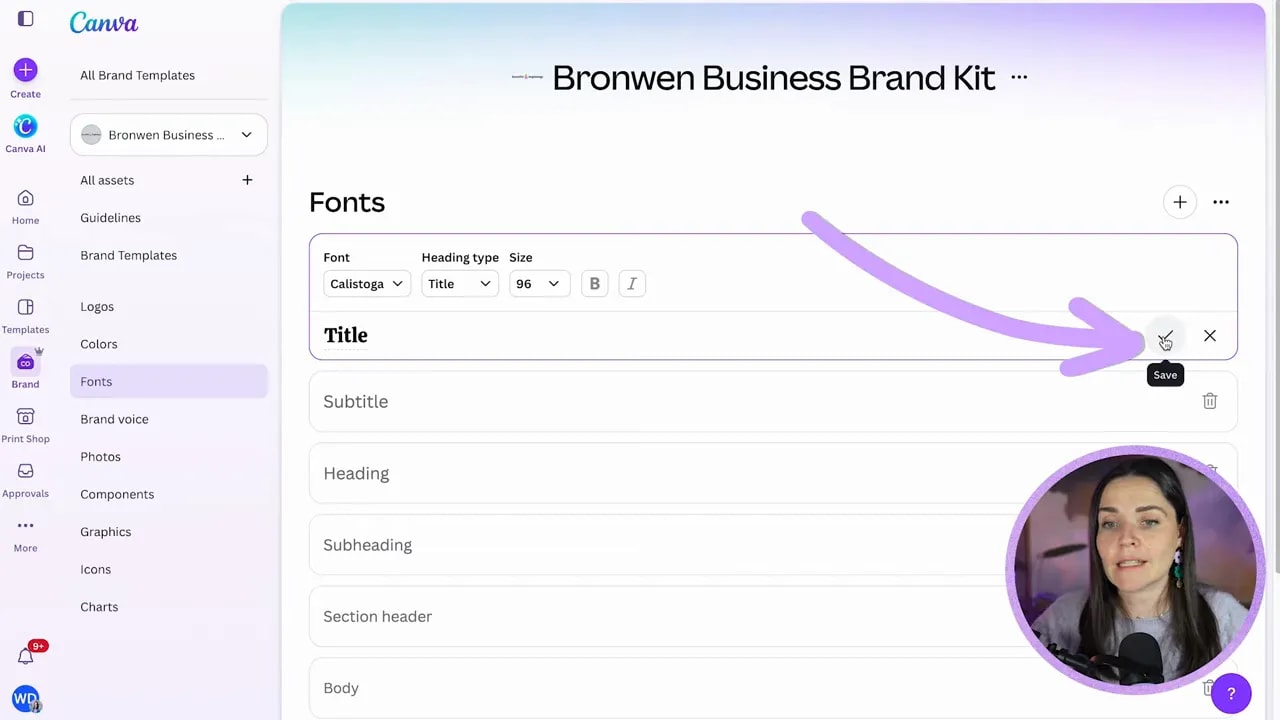
Select a font style, choose your font, set a size if that is useful, then save it. Your font choices will appear when you are working in a design, making it much easier to stay consistent.
If you have purchased a font, use the plus button and select Upload a font. Font files will usually be OTF or TTF files. Before uploading anything, make sure you have the correct rights and licence to use that font for your business.
Step 7: Add Your Brand Voice, Photos, and Graphics
The next sections help you build a proper brand library instead of a random pile of files.
Brand Voice
Brand voice is most useful when other people create content for your business or when you use Canva AI to help write copy. Select Add brand voice and write a short description of how your brand should sound.
You might include whether your tone is warm, confident, playful, direct, educational, polished, casual, or something else that feels like you.
Brand Photos
In the Photos section, upload the images you use most often for your business. This could include headshots, product photography, behind-the-scenes images, lifestyle images, or a branded photo library.
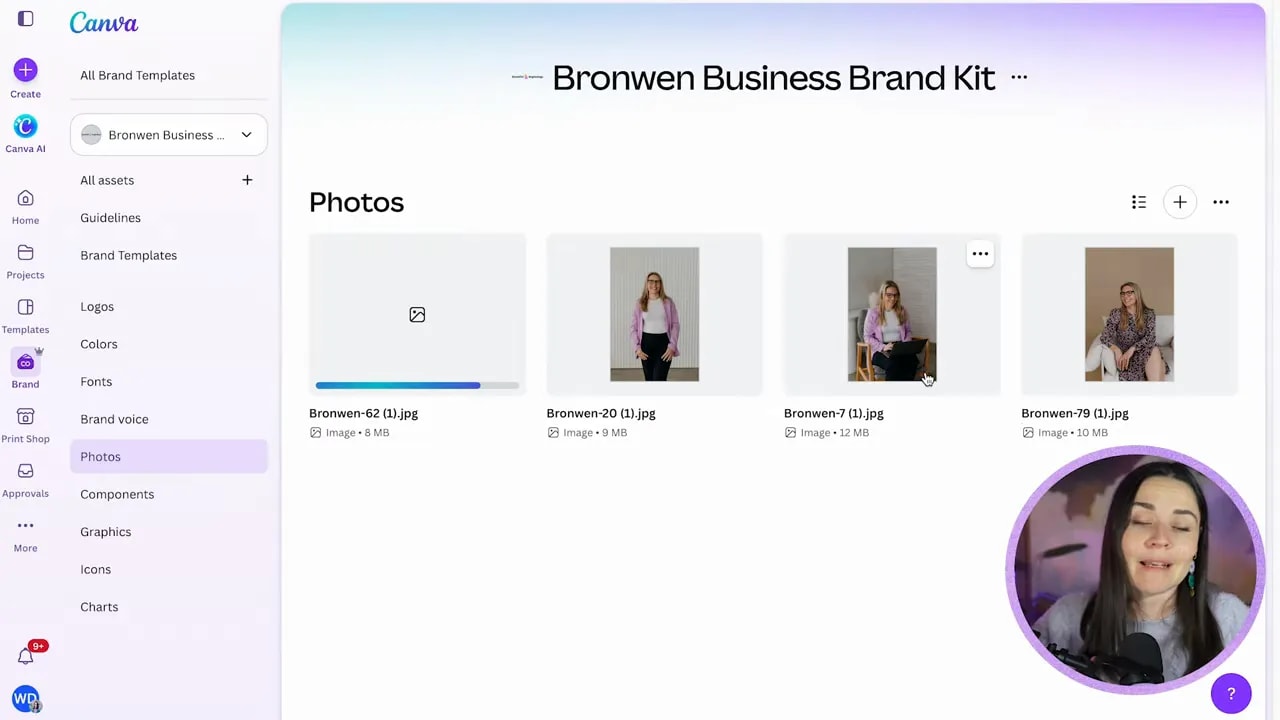
Rename photos clearly if you are building a larger library. A name like “Founder sitting on chair” or “Founder typing on laptop” is much more useful than an automatic camera filename.
If you have Canva Teams, you may have the option to link a folder rather than uploading each asset individually. If you do not see that option on your account, that is a Canva feature difference, not you doing anything wrong.
Brand Graphics and Elements
Graphics are what make your designs feel uniquely yours. Think little flowers, squiggles, textures, patterns, abstract shapes, stickers, decorative marks, and other repeatable elements that bring your brand personality into a design.
Upload custom graphics from your designer, ideally as transparent SVGs or PNGs. SVGs are excellent when you want to recolour the element inside Canva. A more complex transparent PNG can also work well.
You can also create a folder of Canva elements you regularly use, then link that folder to your Brand Kit if your account has that option. To save a Canva element to a folder, use the element’s three-dot menu, select Info, then choose Add to folder.
Step 8: Use Components to Save Reusable Design Elements
Components are a newer Canva feature and they are fabulous for saving reusable graphics or collections of graphics straight into your Brand Kit.
For example, if you have found a little purple flower, pink squiggle, or any other graphic you use again and again, right-click the element in your Canva design and choose Create component.
Give the component a useful name, choose Save to brand kit, then select where it should live. You can save it to Components, Graphics, or a custom category that makes sense for your business.
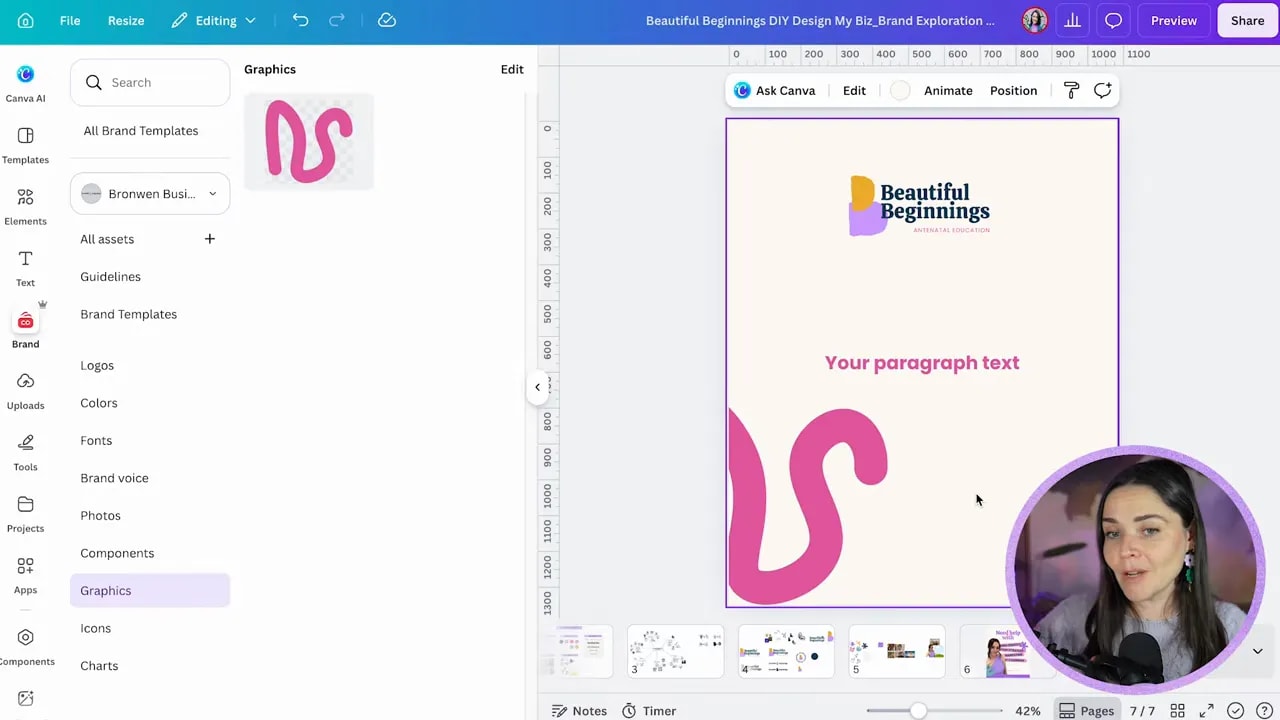
Once saved, the element is ready whenever you need it. No more trying to find that one perfect graphic again, no more scrolling through a giant elements library, and no more hoping you remember what you searched last time.
You can use the same general approach for:
- Icons, especially if a designer has provided a custom icon pack
- Charts, if you regularly use the same chart styling and colours
- Custom categories, if you have specific assets that need their own home
Step 9: Save Brand Templates for Repeatable Designs
If you create the same kinds of graphics often, such as Instagram posts, presentation slides, lead magnets, or promotional graphics, turn them into brand templates.
Inside a Canva design, choose Share and select the Brand template option. That design will then be available from your Brand Kit whenever you need to create a new version.
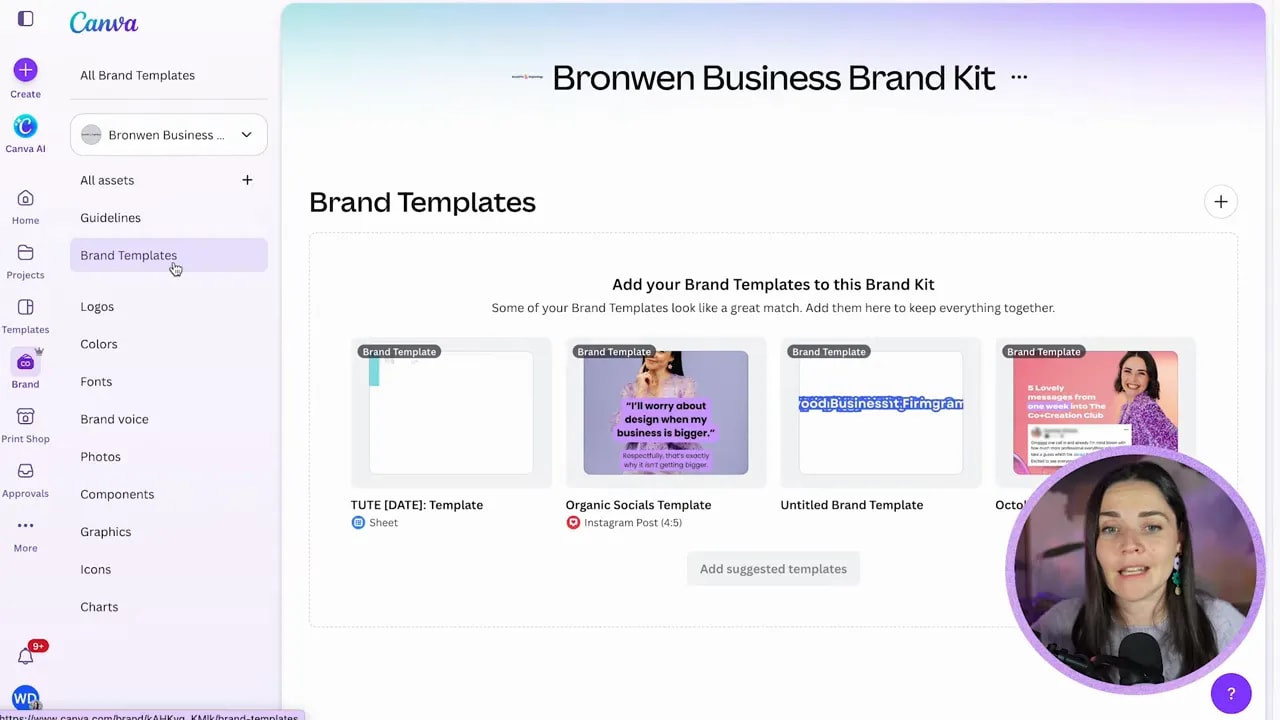
This is one of the best ways to make sure your recurring content looks professional without starting from scratch every single time.
You can also upload a brand guidelines PDF to your Brand Kit if you need a clear reference document for yourself or anyone else working on your brand.
Step 10: Prioritise the Setup and Keep It Useful
Setting up a Canva Brand Kit might take around half an hour, but it can save you hours over the life of your business. You will stop re-uploading lost files, second-guessing colours, searching for fonts, and creating designs that look slightly different every time.
If you are just getting started, focus on these non-negotiables first:
- Your logo variations
- Your main and accent colour palettes
- Your title and body fonts
- A few go-to photos
- Your key brand graphics or elements
Then build it out over time with templates, components, icons, charts, and extra asset categories. You do not need to make it perfect before you start using it. You just need to get your brand essentials in there so Canva can start doing the heavy lifting for you.
If you are staring at this list thinking, “Great, but I do not actually know my colours, fonts, logo, or brand elements yet,” start by building the brand foundations. You can get extra guidance through the free design tools masterclass, or take a deeper DIY approach with DIY Design My Biz.
Get the Brand Kit set up, and future you will be very, very grateful.