
")


If you open Canva and immediately feel overwhelmed, you are not alone. The good news is that getting started is simpler than it looks. Once you know the “where” and the “what size,” everything else gets easier fast.
This guide walks you through starting your first design in Canva, choosing the right dimensions (hint: it is not always square), naming your files so you never lose work, and understanding the main interface so you do not feel lost.
Table of Contents
- Step 1: Pick how you want to start a new design
- Step 2: Choose the right design type (and then the right size)
- Step 3: Create your blank design (or select one)
- Step 4: Understand your workspace basics
- Step 5: Know what “File” settings are useful for
- Step 6: Learn the left sidebar (this is where you add content)
- Step 7: Use zoom, page views, and undo/redo without fear
- Step 8: Use templates strategically (so you learn faster)
- What to do next: focus on text basics
- Quick checklist for starting your first Canva design
Step 1: Pick how you want to start a new design
Canva gives you a few different entry points to start a fresh project. No matter which one you choose, you end up in the same design workspace.
Option A: Use the purple “Create” button (my favorite)
Go to the top left and click the purple big plus (Create). A panel will open where you can choose the type of design you want to make.
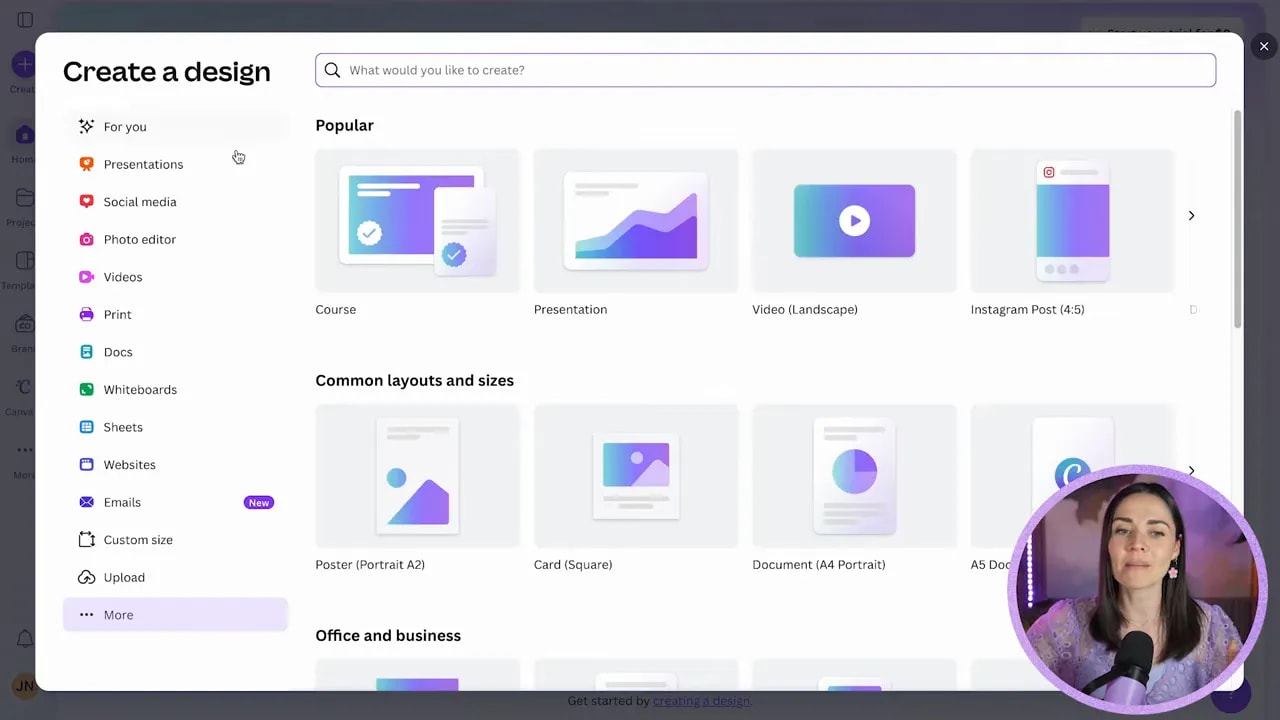
Option B: Click “More” to open the same panel
Close the panel if it is open, then click More in that area. It reveals the same design choices.
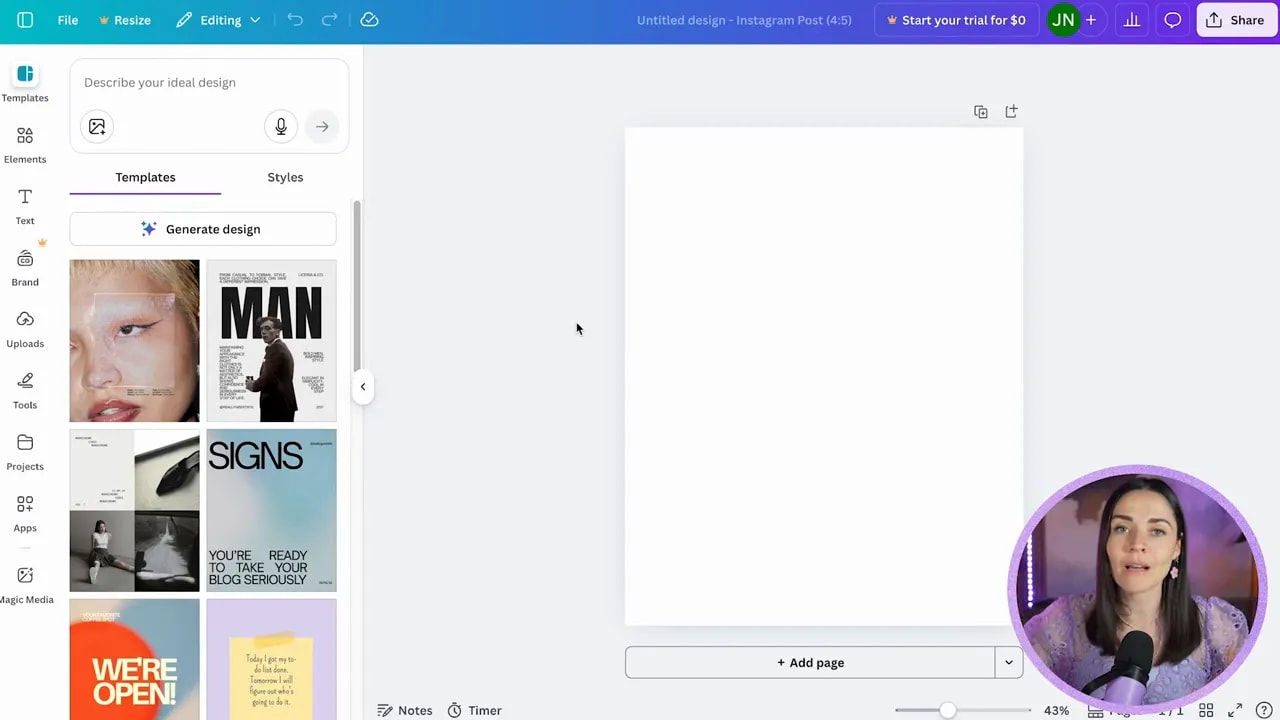
Option C: Start from templates
If you want momentum right away, click Templates, search for something like “Instagram post,” and pick a template. You can also select a gray box to start a blank Instagram post.
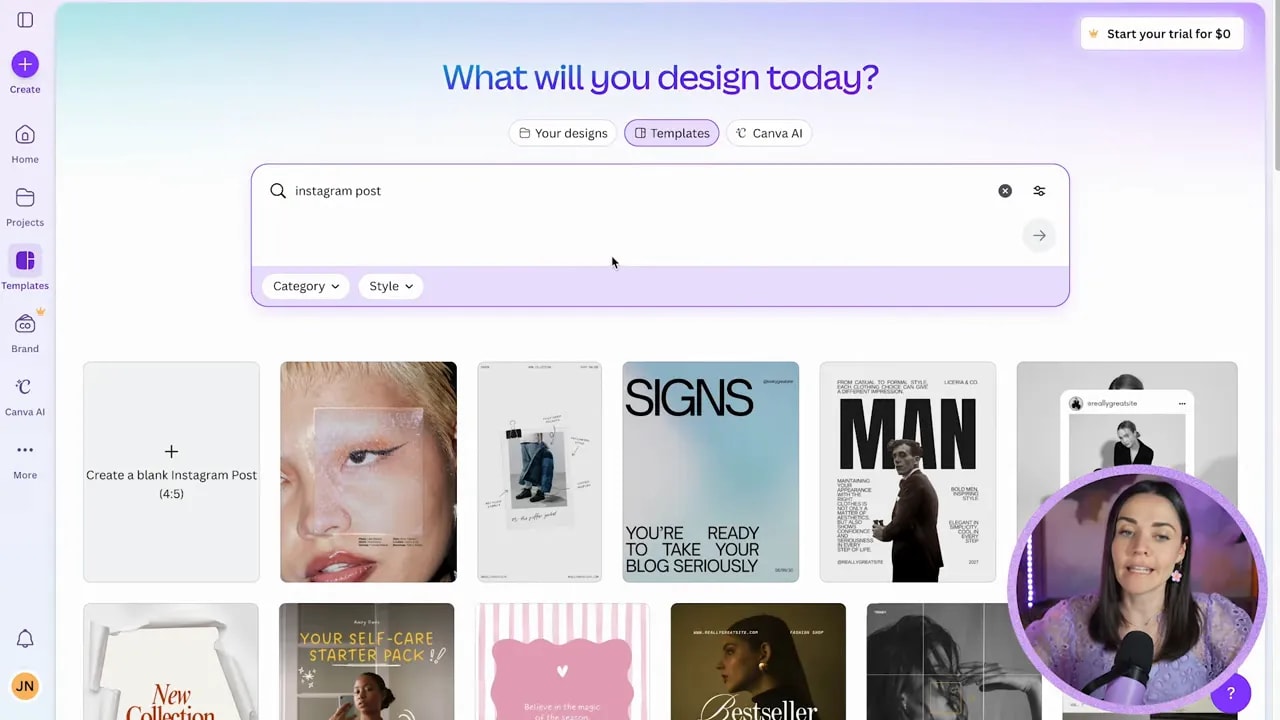
For beginners, templates are great for learning layout and style. But if you want full control, the blank design option is your best friend.
Step 2: Choose the right design type (and then the right size)
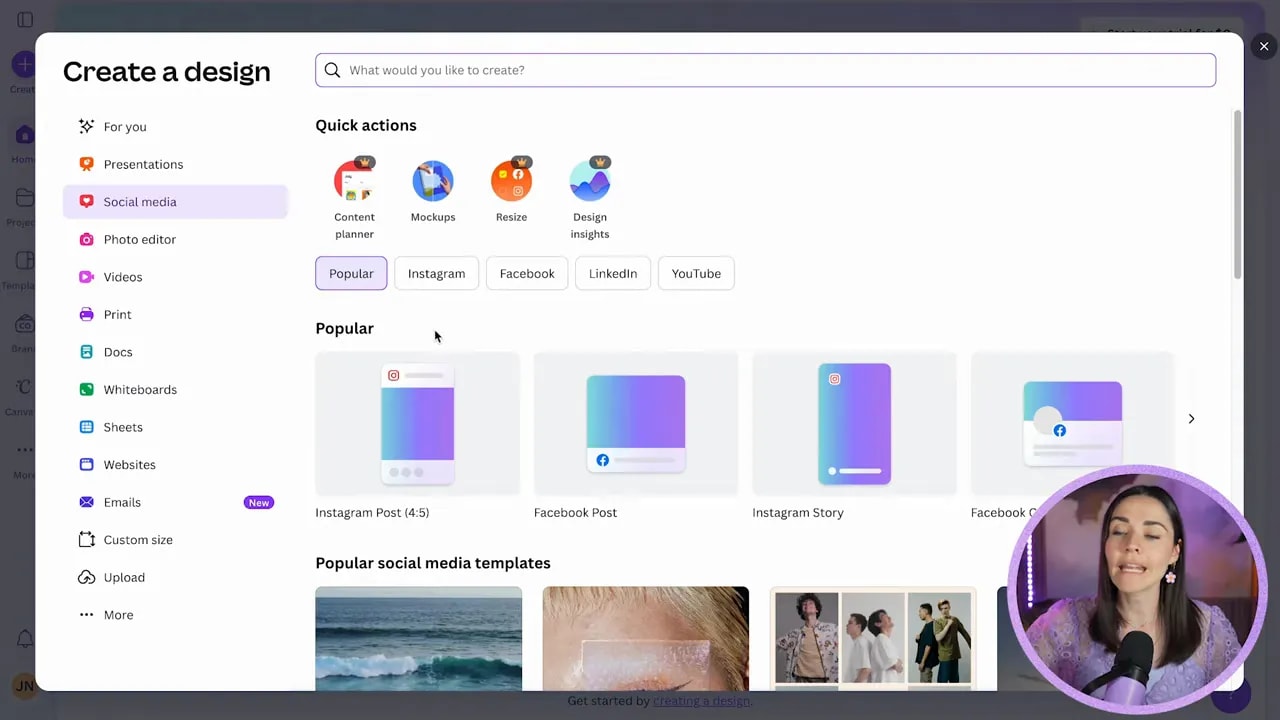
The next step is deciding what kind of graphic you are making. Canva organizes starting points by categories like:
- Social media (Instagram, Facebook, LinkedIn, YouTube)
- Presentation slides
- Video
- More categories based on what you need
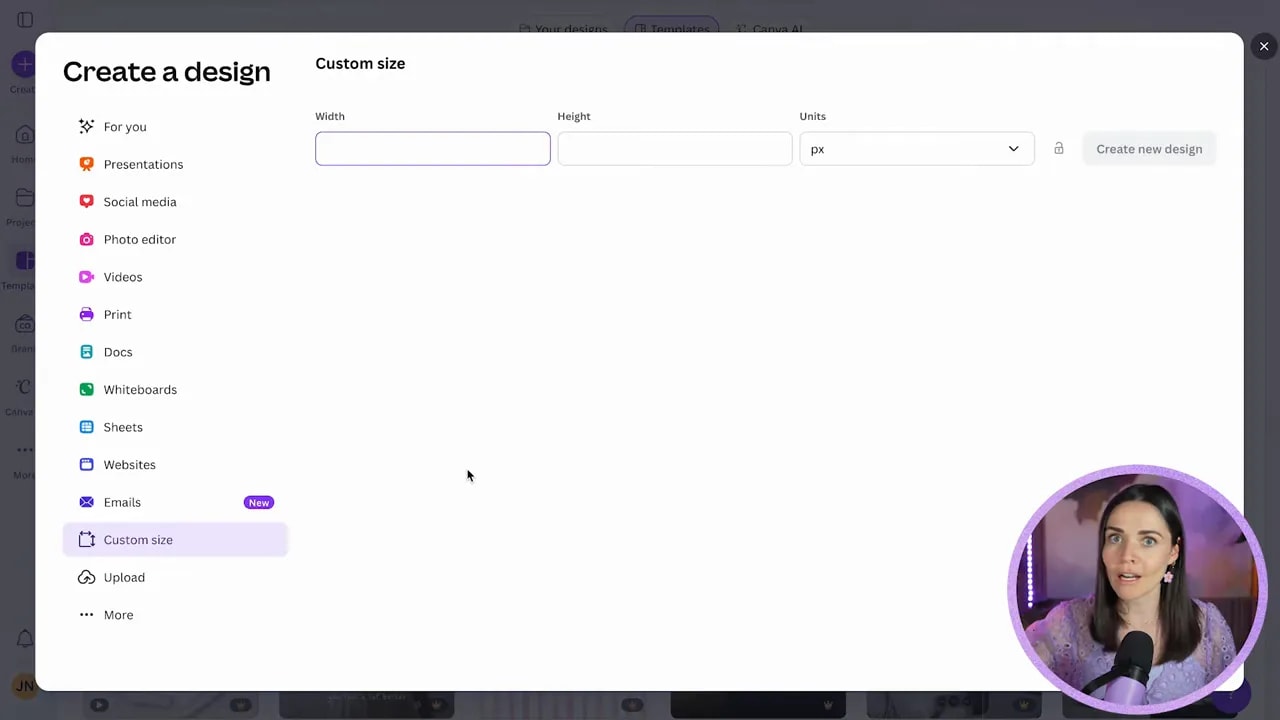
You can also choose a custom size if you have exact dimensions provided to you.
Instagram recommendation: use the 4×5 ratio
If you are creating an Instagram post, a simple recommendation is to choose an Instagram post with the 4×5 ratio. It is one of the easiest and most effective options.
Step 3: Create your blank design (or select one)
Once you choose your design type and size, Canva opens your new workspace with a big blank page.
At this point, do not worry about every button you see. You only need a handful of basics to start creating something useful right away.
Step 4: Understand your workspace basics
Inside a Canva design, you will typically see these key areas:
- A navigation area at the top left (menu options)
- A file menu with project and display settings
- A left sidebar for adding elements, text, uploads, and more
- Canvas controls for zooming, page views, and undo/redo
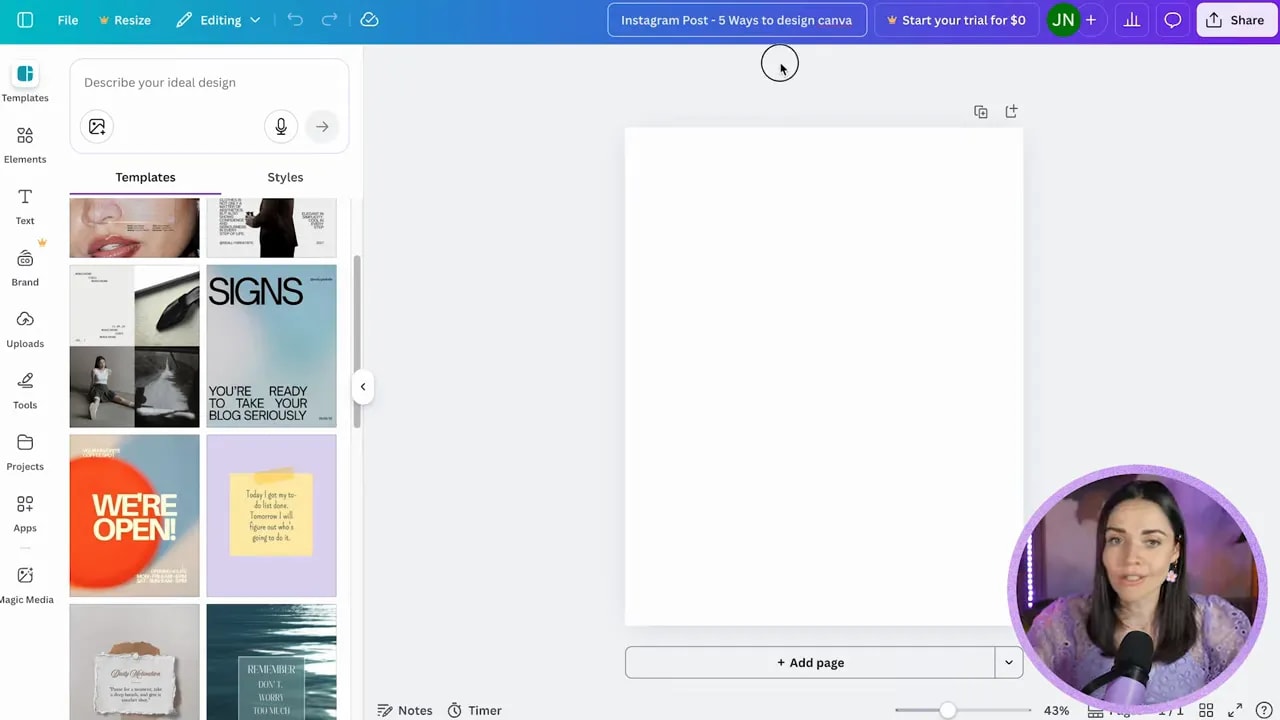
Tip: Canva auto-saves, but naming files is still your #1 habit
Canva automatically saves changes when you are connected to the internet. You do not need to hit a save button repeatedly.
But here is the habit that will save you later: name your files as soon as you start.
FREE Design Tools to $100k Masterclass
Grow your biz with clever design and Canva hacks that will save you hours and make you sales.
You can name a file from the file menu or by clicking the naming box near the top middle of the screen.
Make your filename searchable. For example, a helpful name might include:
- the format (Instagram post, story, flyer)
- the purpose (promo, lead magnet, launch)
- optional date or client name
This keeps your design library organized so you are not hunting through chaos later.
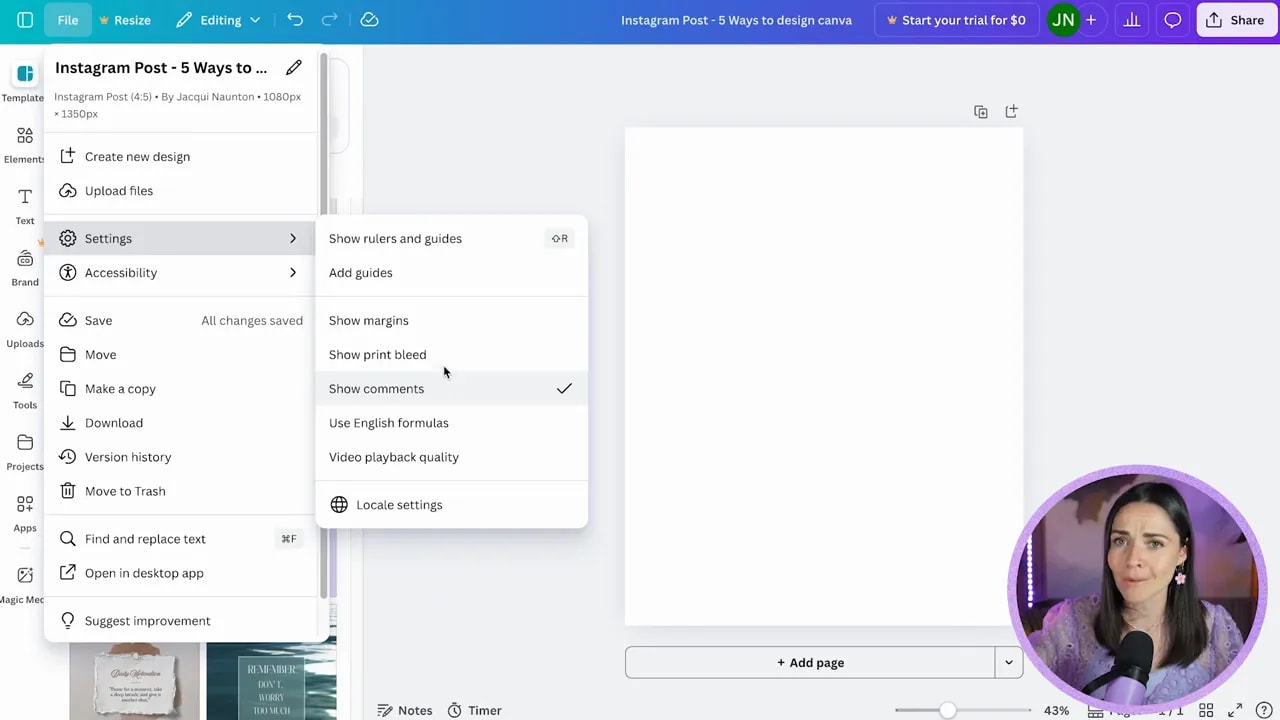
Step 5: Know what “File” settings are useful for
Click File to access project-level actions and display options. A few beginner-friendly ones to know:
- Show rulers and guides to measure spacing and alignment easily
- Show margins for cleaner layout boundaries
- Show comments if you are collaborating
- Download to export your design
- Share to get a link or collaborate
- Version history (if you have Canva Pro)
- Resize (often Pro-only)
Pro tip: enabling rulers and guides is one of the fastest ways to stop feeling “eyebally” about your layout. It makes everything look more intentional.
Step 6: Learn the left sidebar (this is where you add content)
The left sidebar is where you build your design. It includes tools such as:
- Elements for shapes, graphics, photos, frames, animations, and more
- Text for text boxes, page numbers, and captions (especially useful for video)
- Brand Kit (Canva Pro) to manage brand styling
- Uploads to add your own logos, images, videos, and audio
- Tools for drawing and building shapes
- Projects for organizing files and folders
- Apps and Magic Media (AI tools for generating visuals and more)
One note: the sidebar options can look slightly different depending on the type of design you selected.

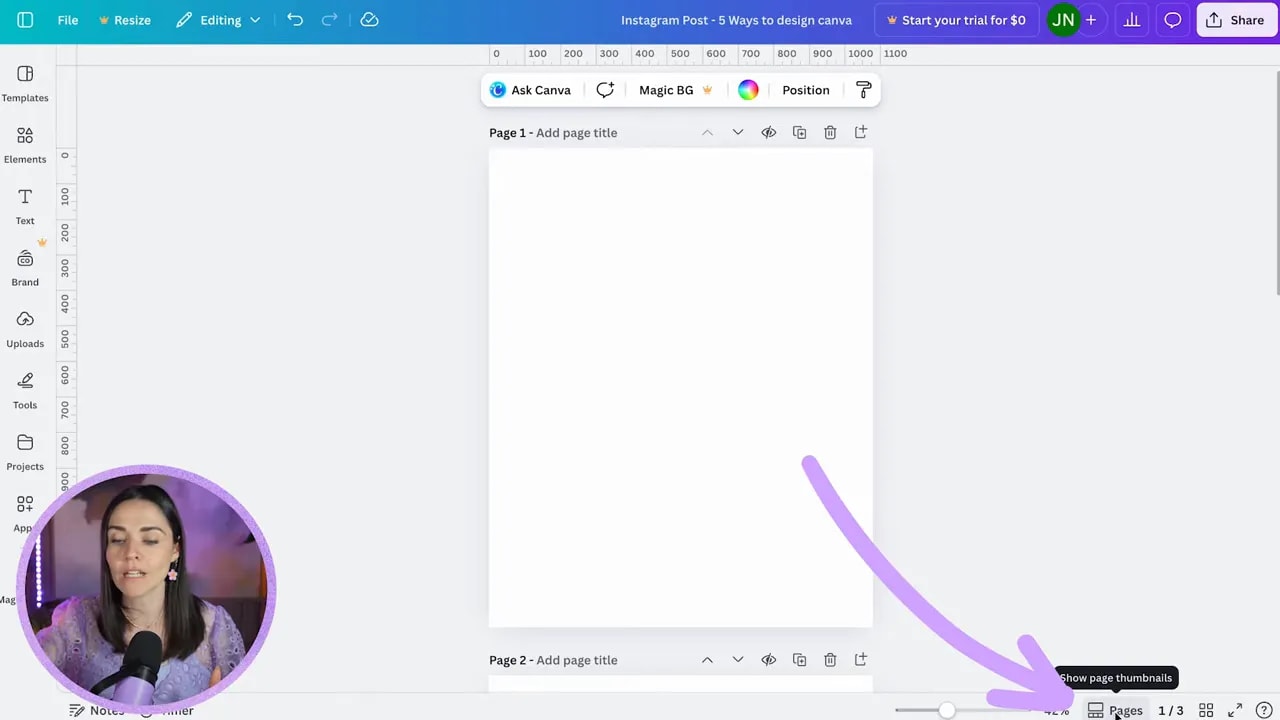
Step 7: Use zoom, page views, and undo/redo without fear
As you start designing, you will love having these controls:
- Zoom in and out (either via buttons or shortcuts)
- Page controls to add pages or switch views
- Grid view to see all pages at once
- Full page view for focused editing
- Undo and redo when you make mistakes
- Comments for collaboration
- Notes for drafting captions or leaving reminders for yourself
If you are unsure what something does, hover over it. Canva usually shows a quick explanation.
Step 8: Use templates strategically (so you learn faster)
Templates can feel like shortcuts, but they are also teaching tools. Start with a template to get the layout and structure. Then replace content with your own text, brand colors, and images.
Eventually, you will build confidence to create layouts from scratch. That transition is what moves you from “stuck” to “scroll-stopping.”
What to do next: focus on text basics
Everything changes when you learn how to use text well. Spacing, alignment, positioning, and line breaks make your design look intentional rather than random.
Your next step is to master text controls so your graphics become clear, professional, and ready to promote your business.
Quick checklist for starting your first Canva design
- Start a design using Create, More, or Templates
- Pick the correct size (ex: Instagram posts: 4×5 ratio recommendation)
- Name your file immediately so you can find it later
- Use rulers and guides to measure layout confidently
- Add elements and text from the left sidebar
- Use undo/redo and zoom controls as you build
Once you’ve done these steps a couple of times, Canva stops feeling like a maze and starts feeling like a tool that saves you hours. And when your branding and social graphics look consistent, it becomes much easier to show up and promote with confidence.
FREE Design Tools to $100k Masterclass
Grow your biz with clever design and Canva hacks that will save you hours and make you sales.


