










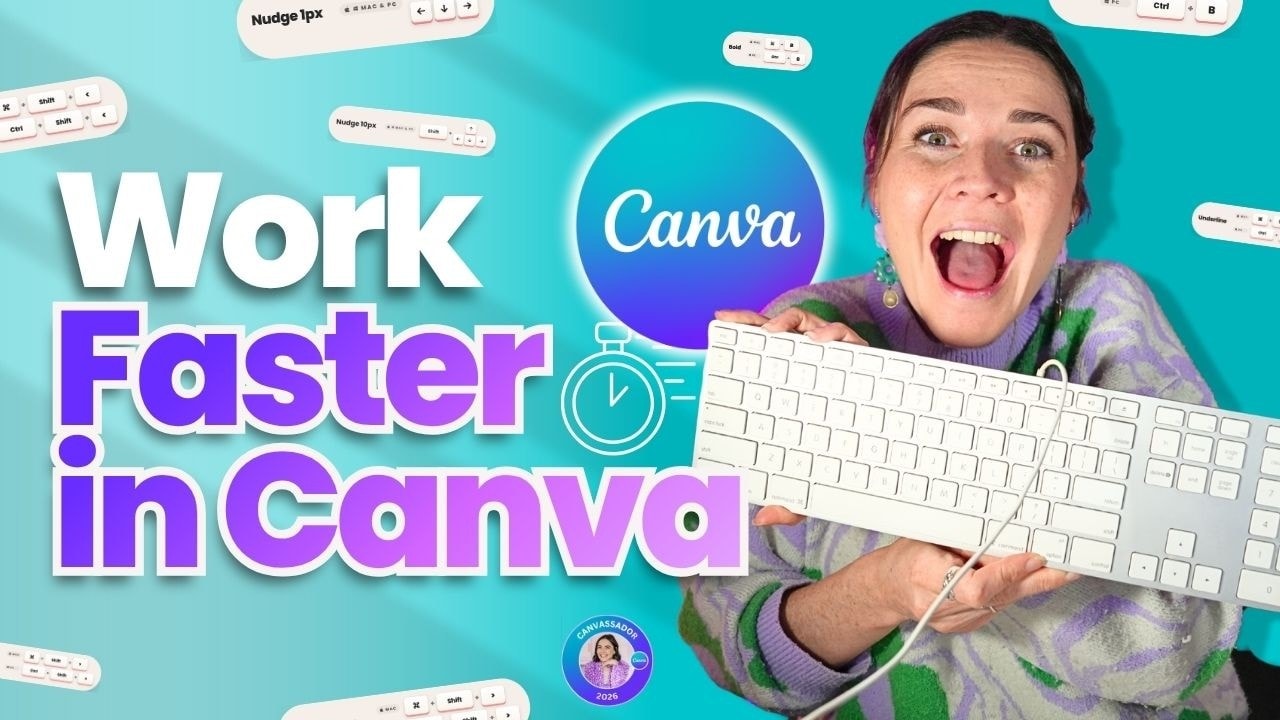
Those tiny pauses in Canva add up fast. You are in the groove, then you have to move your mouse to the toolbar, hunt for the right button, click around, and find your place again.
These five Canva keyboard shortcuts help you keep designing with less friction. None of them are wildly complicated, but once they become muscle memory, they can save a surprising amount of time across all the graphics you create for your business.
Quick note: These shortcuts are designed for Canva on a computer with a physical keyboard. On Windows, use Ctrl. On Mac, use Command.
Table of Contents
- Step 1: Press R to Instantly Add a Rectangle or Square
- Step 2: Nudge Elements With Your Arrow Keys
- Step 3: Group Related Elements With Ctrl or Command + G
- Step 4: Format Text With Ctrl or Command + B, I, and U
- Step 5: Resize Text With Ctrl or Command + Shift + Arrow Keys
- Step 6: Make the Shortcuts Part of Your Design Process
Step 1: Press R to Instantly Add a Rectangle or Square
Need a shape? Press R on your keyboard.
Canva will immediately add a rectangle or square to your design. It is one of those lovely little sticky-key shortcuts that feels almost too easy, but becomes incredibly useful when you create graphics regularly.
And this is not just a boring, fixed rectangle. Once it is on the canvas, you can make it work hard for your design:
- Change its colour.
- Resize it into a square, banner, button, or background block.
- Round the corners using the Corners control.
- Add and adjust an outside stroke.
- Change the stroke colour and thickness.
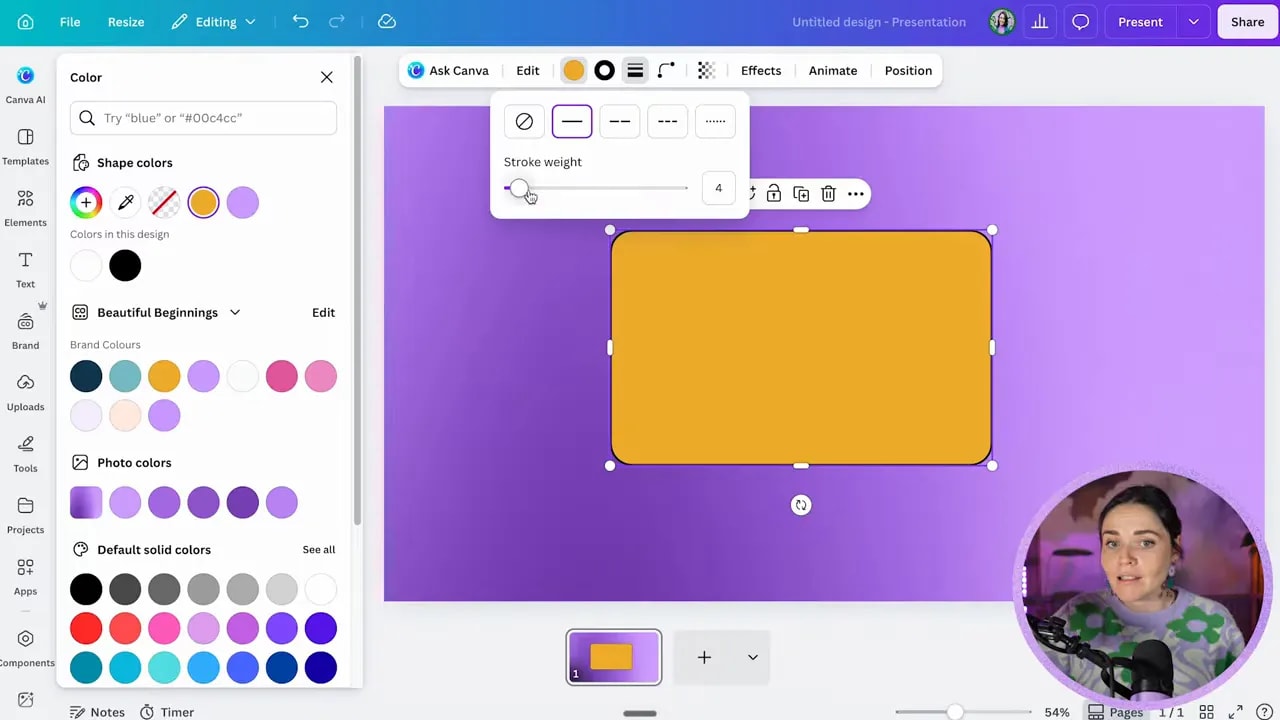
For example, take a rectangle, make it narrow, round the corners, and you have a button-style shape. Stretch it wide and it becomes a content panel. You can also use Canva’s edit options to swap the shape for another one while retaining the styling you have already applied.
The only catch is that your text cursor cannot be active inside a text box. If you are typing and press R, Canva will type the letter R rather than insert a rectangle.
Step 2: Nudge Elements With Your Arrow Keys
Dragging an element with your mouse is great until you need to move it just a tiny bit. For those careful adjustments, select the element and use your keyboard arrow keys.
Each tap moves the selected item a small amount in the direction you choose:
- Up Arrow: move upward
- Down Arrow: move downward
- Left Arrow: move left
- Right Arrow: move right
This is perfect when an icon, arrow, shape, or text block is almost in the right place but needs a little visual polish. You can nudge it one pixel at a time instead of trying to drag it precisely by hand.
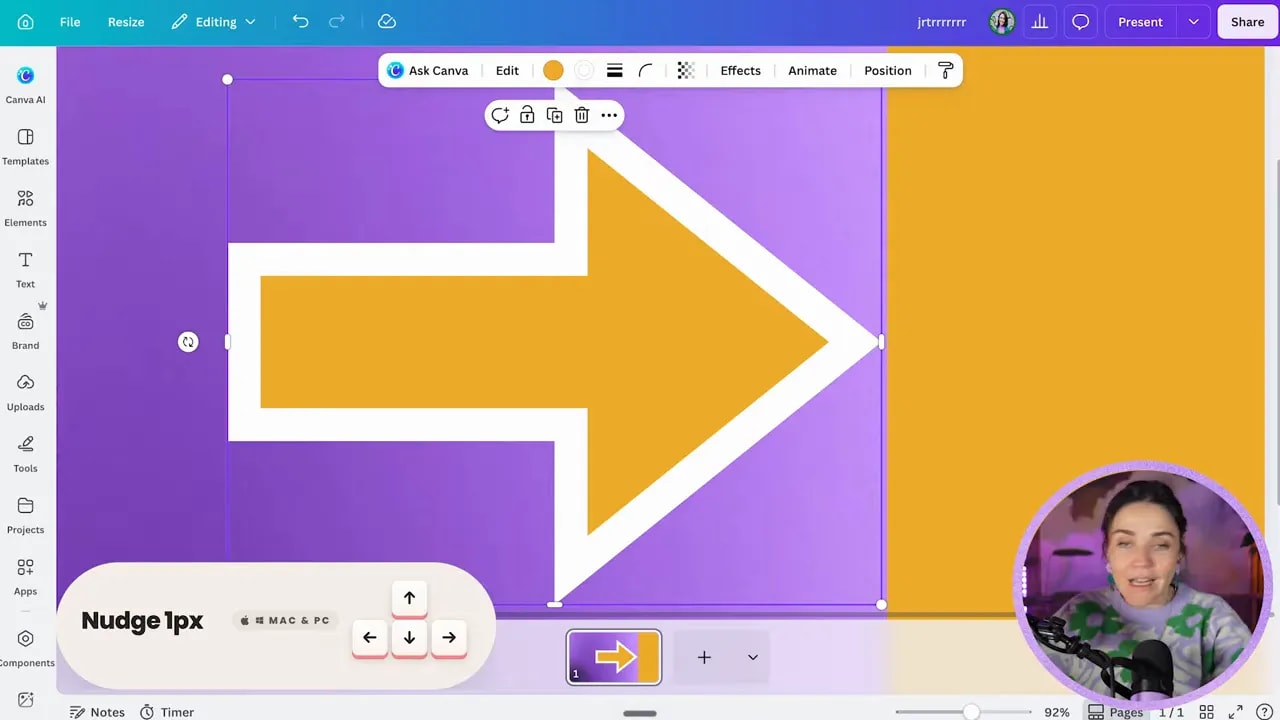
When you need to move something farther, hold Shift while pressing an arrow key. This makes the object jump in larger increments, around 10 pixels at a time, so you can shift it quickly without returning to the mouse.
Think of it this way:
- Arrow keys only: small, precise movements
- Shift + Arrow keys: faster, larger movements
That little combination is brilliant for adjusting spacing while keeping your focus on the design itself.
Step 3: Group Related Elements With Ctrl or Command + G
When you have built a collection of elements that belong together, group them before you keep moving them around.
Say you have an arrow layered over a circle. You might be able to drag across both elements to select them together, but the moment you click elsewhere, you need to select them all over again. That gets annoying very quickly.
Instead, select the elements and press:
FREE Design Tools to $100k Masterclass
Grow your biz with clever design and Canva hacks that will save you hours and make you sales.
- Ctrl + G on a PC
- Command + G on a Mac
Canva turns the selected pieces into one grouped element, so you can resize or move the whole collection as a single unit.
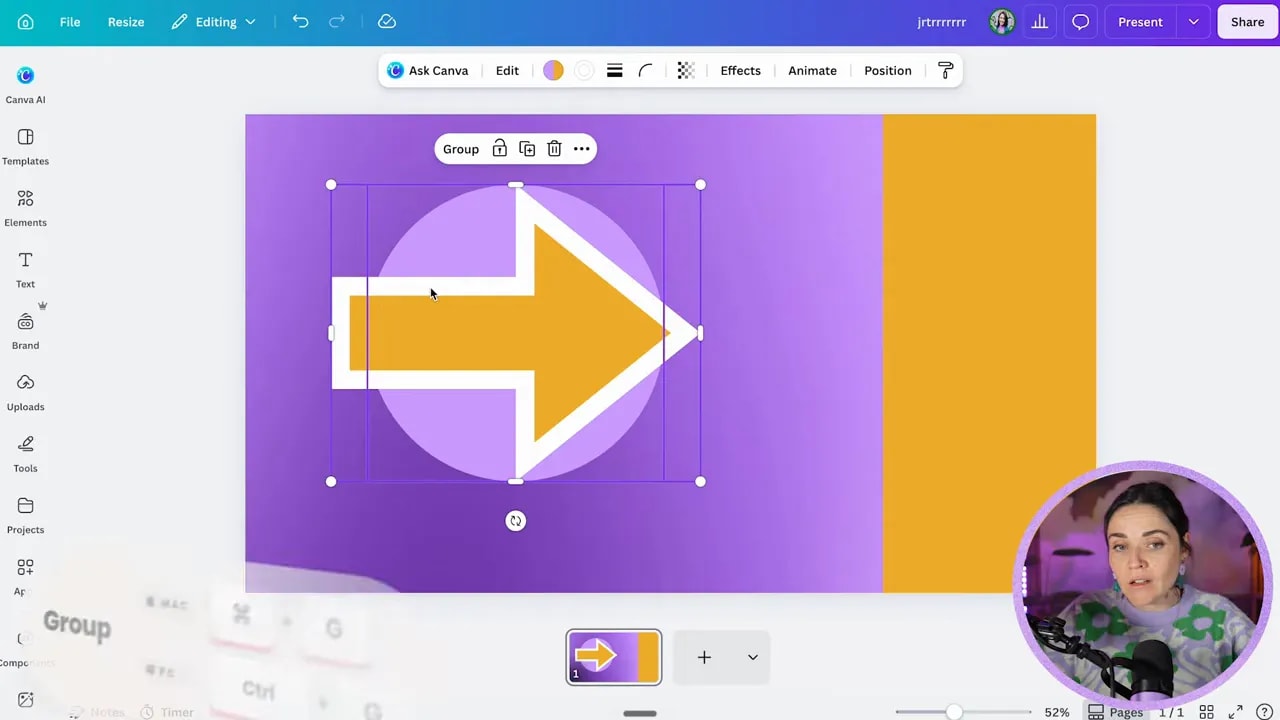
You can still access an individual item inside the group by double-clicking it. And if you want to separate the items again, use Canva’s ungroup option.
Grouping does not save a whole minute each time, but it saves a few seconds and, more importantly, keeps you in your design flow. When you are creating graphics, fewer interruptions means less friction and faster progress.
Step 4: Format Text With Ctrl or Command + B, I, and U
These are familiar shortcuts if you have used Google Docs, Word, or most other text editors. But it is easy to forget that they work in Canva too.
Select the text you want to change, then use these shortcuts:
- Ctrl or Command + B: bold
- Ctrl or Command + I: italic
- Ctrl or Command + U: underline
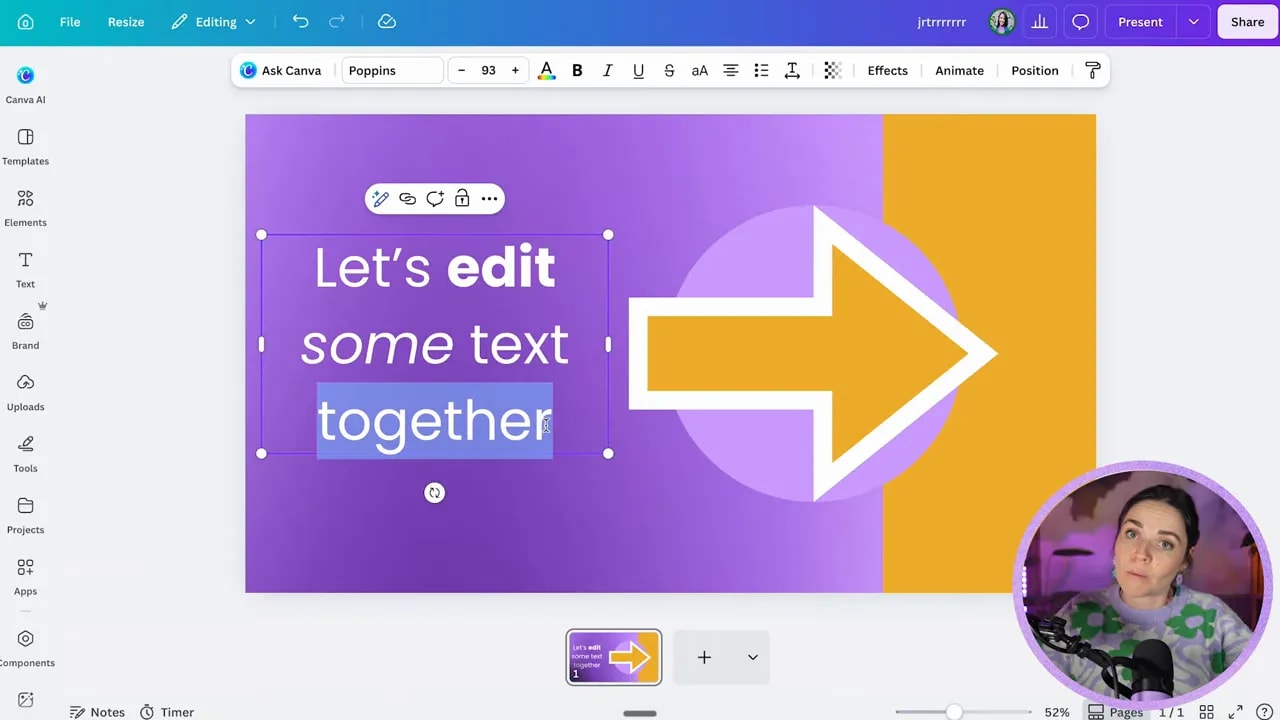
These shortcuts are especially handy when you want to emphasise one word in a heading, italicise a phrase, or underline a small piece of copy. Rather than moving your mouse up to the formatting bar every time, you can make the edit right where you are working.
Again, the benefit is incremental. One shortcut will not change your whole day, but using it repeatedly while designing absolutely can.
Step 5: Resize Text With Ctrl or Command + Shift + Arrow Keys
The final shortcut makes it much easier to tweak text size without clicking into Canva’s font-size controls.
First, select your text box. Then hold:
- Ctrl + Shift on a PC
- Command + Shift on a Mac
While holding those keys:
- Press the Down Arrow to make the text larger.
- Press the Up Arrow to make the text smaller.
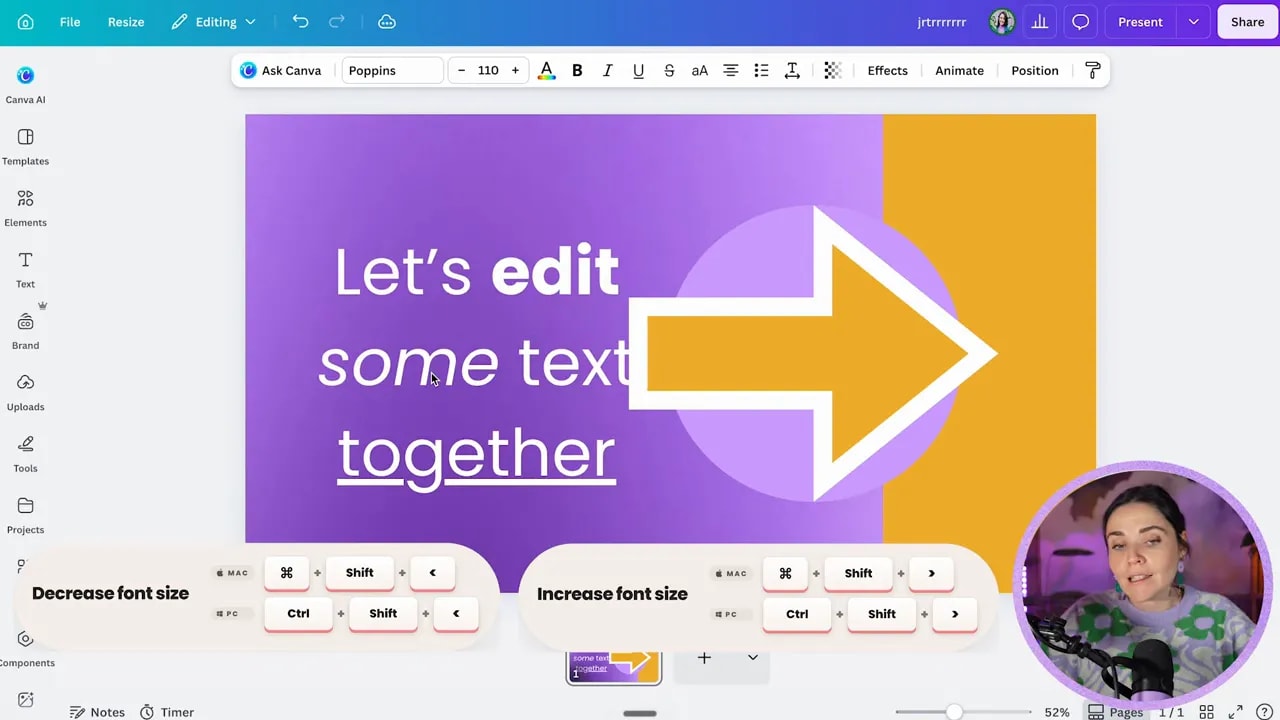
It may feel slightly backwards at first, but it is incredibly useful when you are adjusting a heading and need it just that little bit bigger or smaller. You can quickly refine the type, keep moving, and avoid getting pulled away from your design by another toolbar adjustment.
Step 6: Make the Shortcuts Part of Your Design Process
You do not need to memorise every Canva shortcut at once. Start with the one that will solve the most repetitive problem in your own workflow.
If you regularly create buttons, start with R. If spacing drives you mad, use the arrow-key nudge. If you make lots of layered graphics, build the habit of grouping with Ctrl or Command + G.
Then add the others gradually. The goal is not to collect shortcuts for the sake of it. The goal is to stay in the groove, create professional-looking graphics more efficiently, and make your DIY design process feel far less clunky.
If you want more practical Canva shortcuts, live demonstrations, brand guidance, and help avoiding common DIY design mistakes, you can join the free Design Tools to $100K masterclass.